
When I first started working with GIS, I often wondered, where did all of this spatial data come from? As I progressed through my initial undergrad coursework and internship experiences, the answers quickly revealed themselves. Some of the data is created by someone sitting at a desk. Other data is automatically generated as a subset or byproduct of another dataset. A large amount of data, however, is collected on-site, by people in the field.
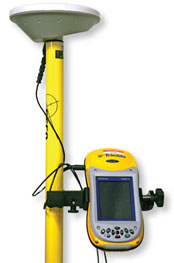
When I began my first internship I was doing exactly that. Weather permitting, I would be out in the field collecting data with a high-tech, high-end Trimble GPS.
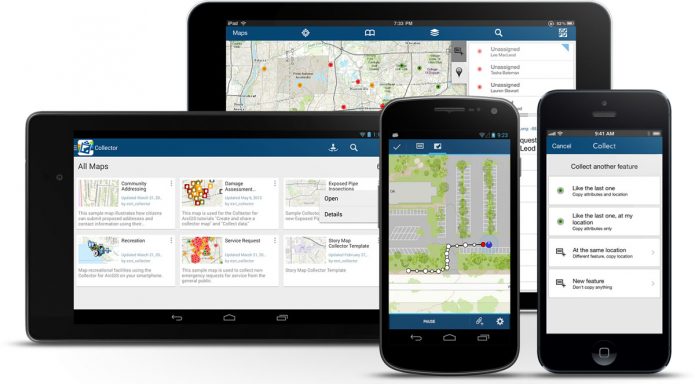
As many of us know, GIS does not typically have the capability or need to achieve survey-grade accuracy. For this reason, it has become an increasingly popular choice to skip purchasing a $10,000 GPS unit and instead purchase an Android tablet or iPad for $1000 or less. This trend has been on the rise ever since powerful tablets with an acceptable battery life for mobile data collection became an affordable option. Because of this, GIS software companies have developed native Android and iOS apps for mobile spatial data collection. There are several apps out there, including free and open source options. Data collection with these native apps can even be performed on a smart phone.

Two Options for Mobile Data Collection
This post will focus on ESRI’s Collector for ArcGIS app, as it will tie in with the article I wrote two weeks ago detailing how to create and host a dataset in ArcGIS Online tailored for mobile data collection.
Collector for ArcGIS
The Collector app is available on the Google Play store for Android and the App Store for iOS. After downloading the app, login to your organization’s account just as you would on ArcGIS Online. Any webmaps that exist in your organization’s ArcGIS Online account will be visible in the Collector’s main menu.
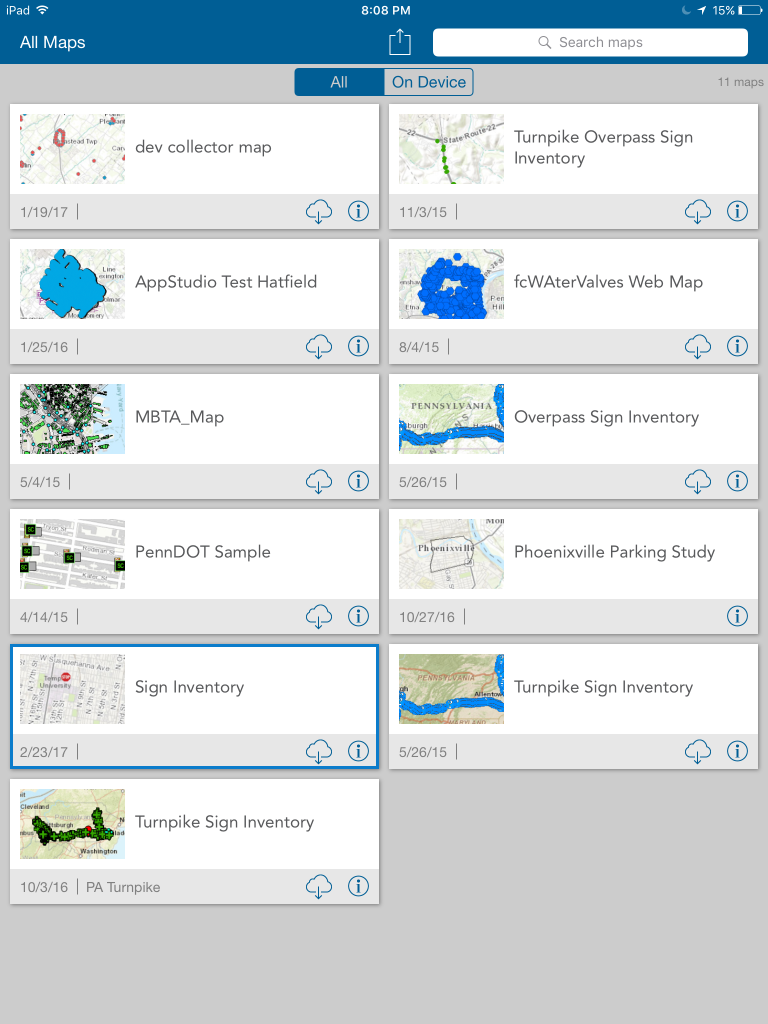
Collector for ArcGIS Main Menu
Select and open the map that you wish to collect data in. In this case, the Inventory map that was created in the previous blog post. The Collector’s map interface is relatively simple and its capabilities are intuitive and user friendly. Depending on your device, the layout may be slightly different, but the same functionality is present across all device types. Below is a screenshot of the initial Collector window, with a brief outline of what each button does.
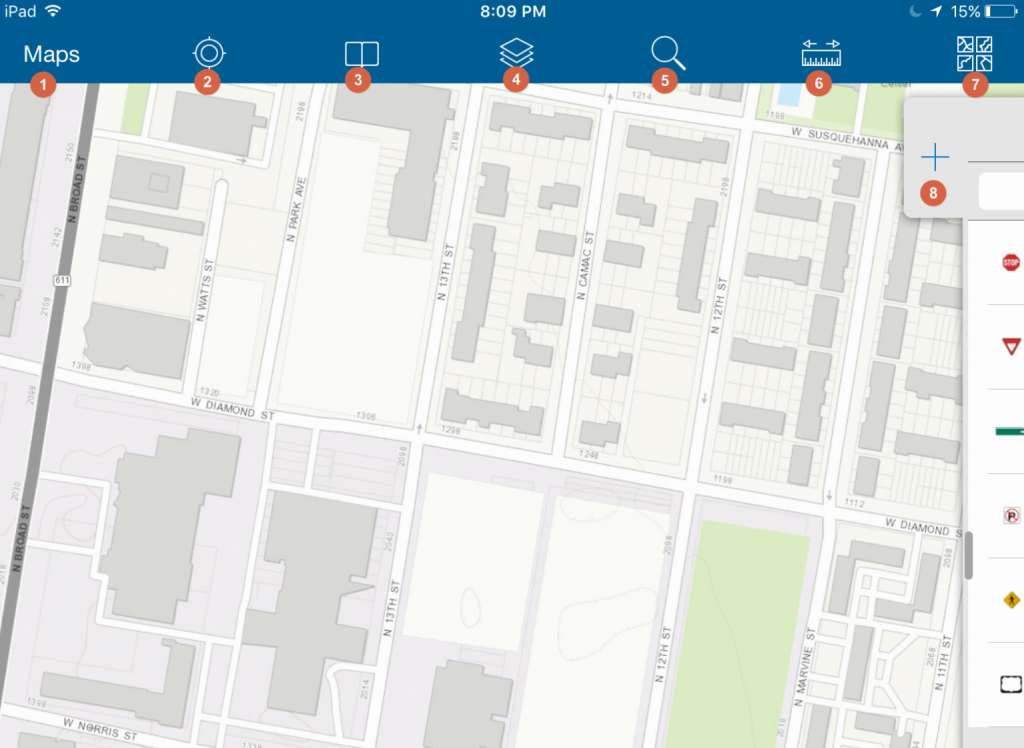
- The maps button will return to the main menu.
- The find my location button will use your device’s built in GPS to find your location and display it on the map.
- The bookmarks button allows for saving of specific locations / map extents as bookmarks. This eliminates the guesswork if you need to quickly reference or jump between two areas.
- If you are collecting more than one type of feature, the Layers tool is useful for turning on and off datasets when one type may not be in use.
- The search tool works like a Google Maps search, allowing you to search for and zoom to any location on Earth. It can also be configured to search through attribute values for a feature layer in the map.
- The measurement tool allows you to measure distances and areas by drawing temporary lines and polygons on the map.
- The basemap tool allows you to select and change the basemap. Available basemaps include Topographic, Imagery (and an option to include labels), OpenStreetMap, ESRI Streets, Terrain, and the USGS National Map, among others. You can also create and load a custom basemap if, for example, you have higher resolution imagery available for your study area.
- Clicking on or dragging the plus sign to the left will allow for the creation of new features. Feature templates defined in ArcMap or ArcGIS Online will be visible here for any feature layer that is present in the webmap.
Once you’ve familiarized yourself with the tools available in the Collector, you can begin collecting data. Click on or pull the plus sign (point 8) to the left to see templates available for creation. On some versions of the Collector, the location of the feature will automatically be assigned your current location. If this doesn’t automatically begin, you can click the symbol that looks like a person with the find my location target next to it to use your location for the feature. You can also tap any location on the map to set the feature’s location to that point. The Collector also allows you to draw vertices for line and polygon feature layers this way. There is also the capability to “walk” a line or polygon feature, the Collector will drop a verticy at a predefined distance as you walk along a feature until you tell it to stop.
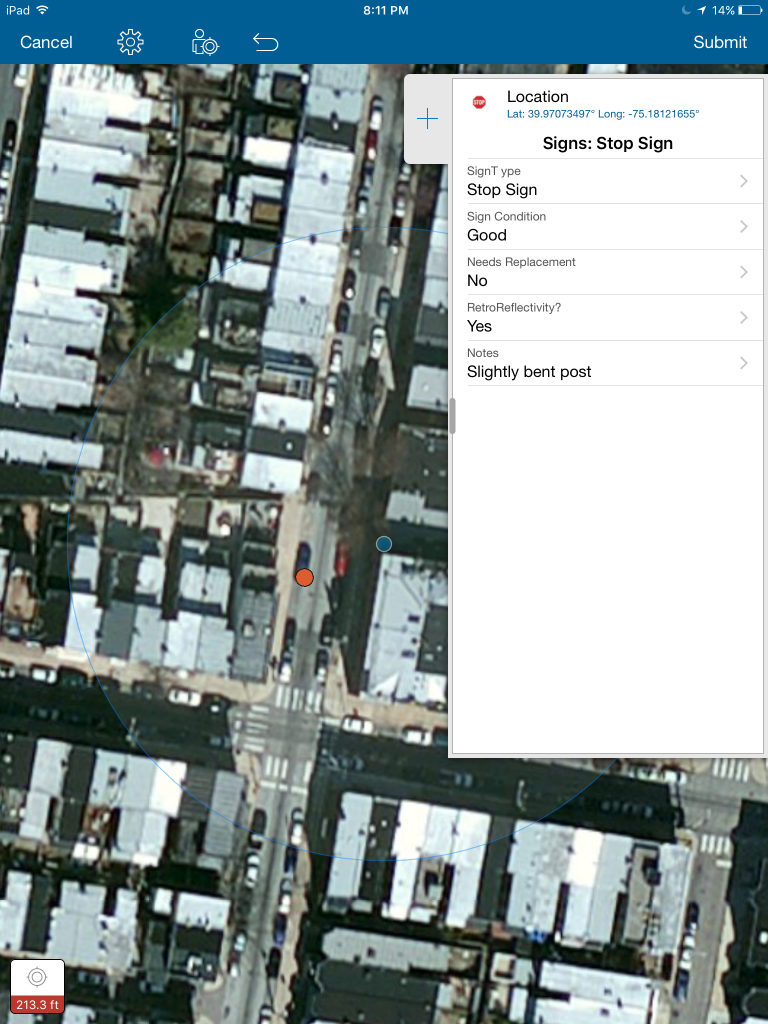
A Feature Collected in the Field
Next, you can begin assigning values to the attributes for that feature. Note that the domain value lists are present for the attributes that you configured to have them. This helps to greatly streamline a collection effort and can cut the time it takes to collect a single feature tremendously. Editing can be done in the field if any mistakes were made, and the progress of the inventory can be seen back at the office in real time as the collection effort occurs in the field.
In the next blog post, I will go further in how to utilize ArcGIS Online’s suite of tools to better represent, share, and understand the data that has been collected.