By Hocheol Yang
There are tons of free 3D objects that people share. Although some of them are interesting and exemplary, it is hard to find objects that are exactly what you need or what you thin k is right. Therefore, making your own 3D objects or modifying what other people share may sometimes save time and effort. This post will briefly introduce how to print your own 3D objects in MAYA 2016 using BigBox 3D at Temple’s DSC.
MAYA is a good tool for 3D animation, and it is also perfect for making 3D printable objects. It takes a long time to learn MAYA fluently, but if you just need to modify and create simple objects, you only need to learn a few simple tools, such as selection, boolean, move, scale, and measure.
First we’ll make a simple cube. You can click “Create” > “Polygon Primitives” > “Cube” or just click an icon shown below.
When you first create the cube, it might be invisible because it is too small. Once you create the polygon cube then click the “scale” tool to adjust size of the cube.

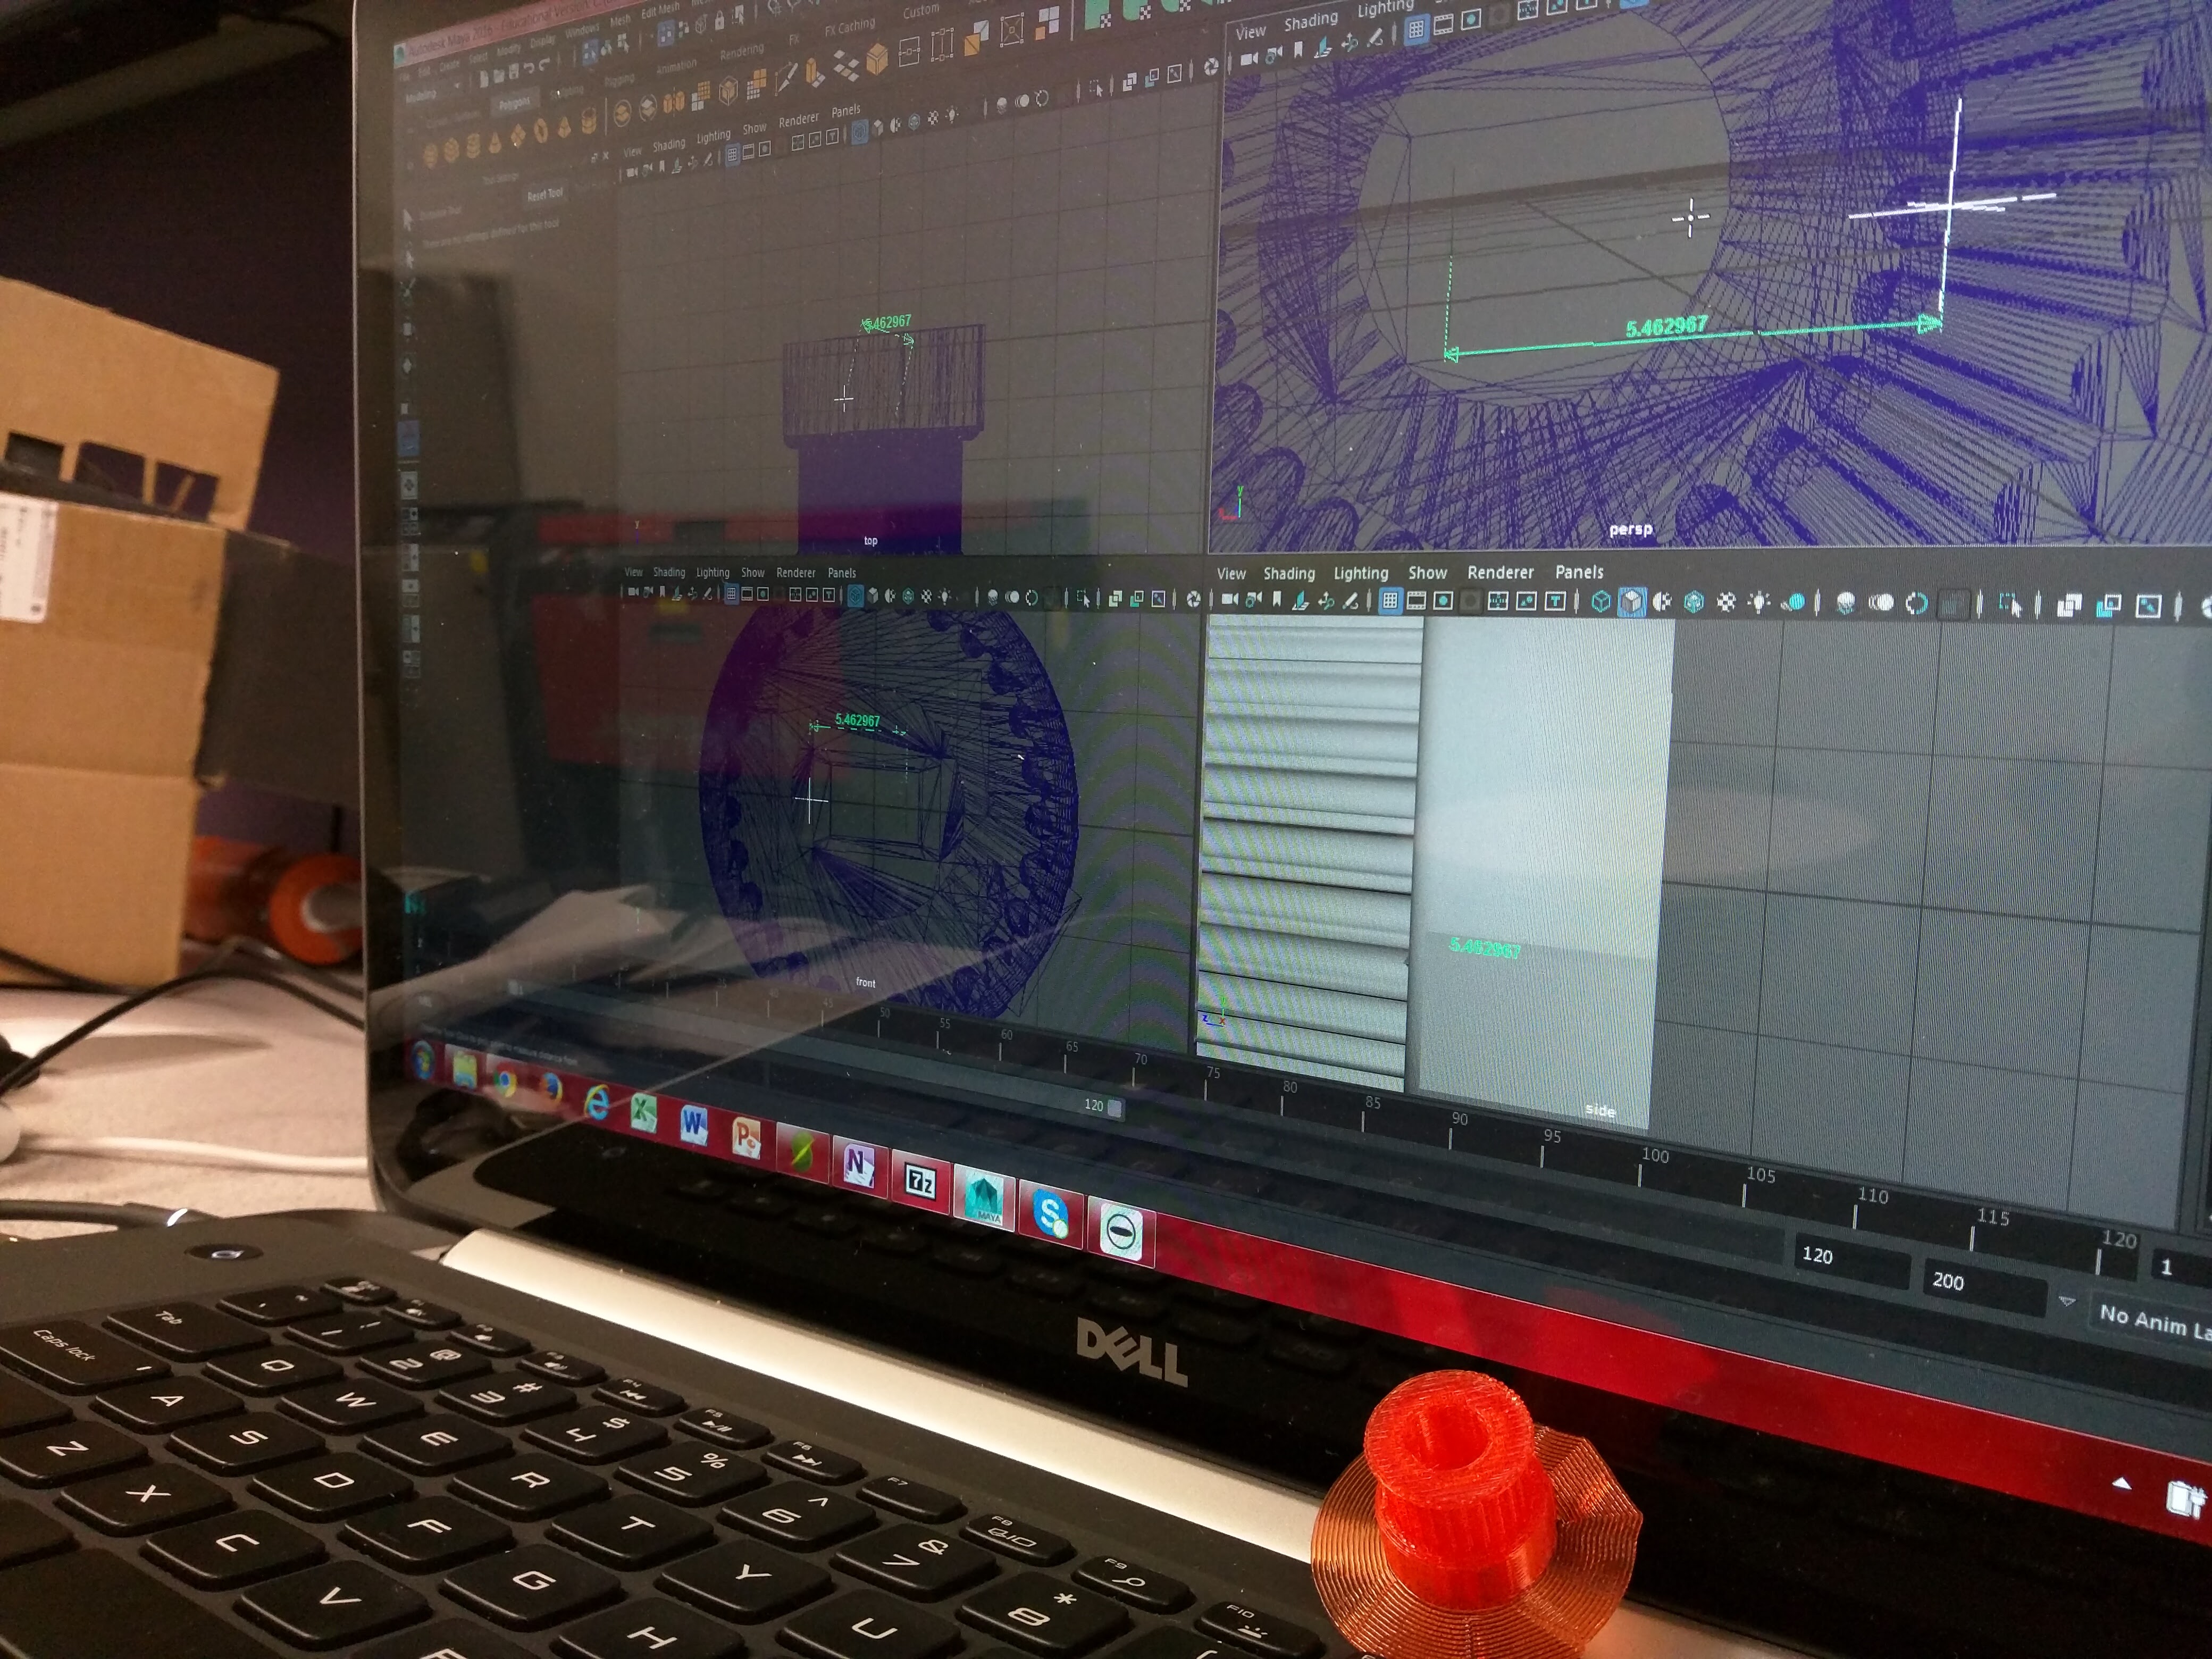
In order to check the actual size of the cube, you can click the “Distance tool.” Due to a 3D printer’s margin of error, your object might not be exactly this measurement when you print it. You may want to reduce or increase the size slightly depending on printing purposes. The “Distance tool” will provide stand points before you adjust the size for 3D printing.
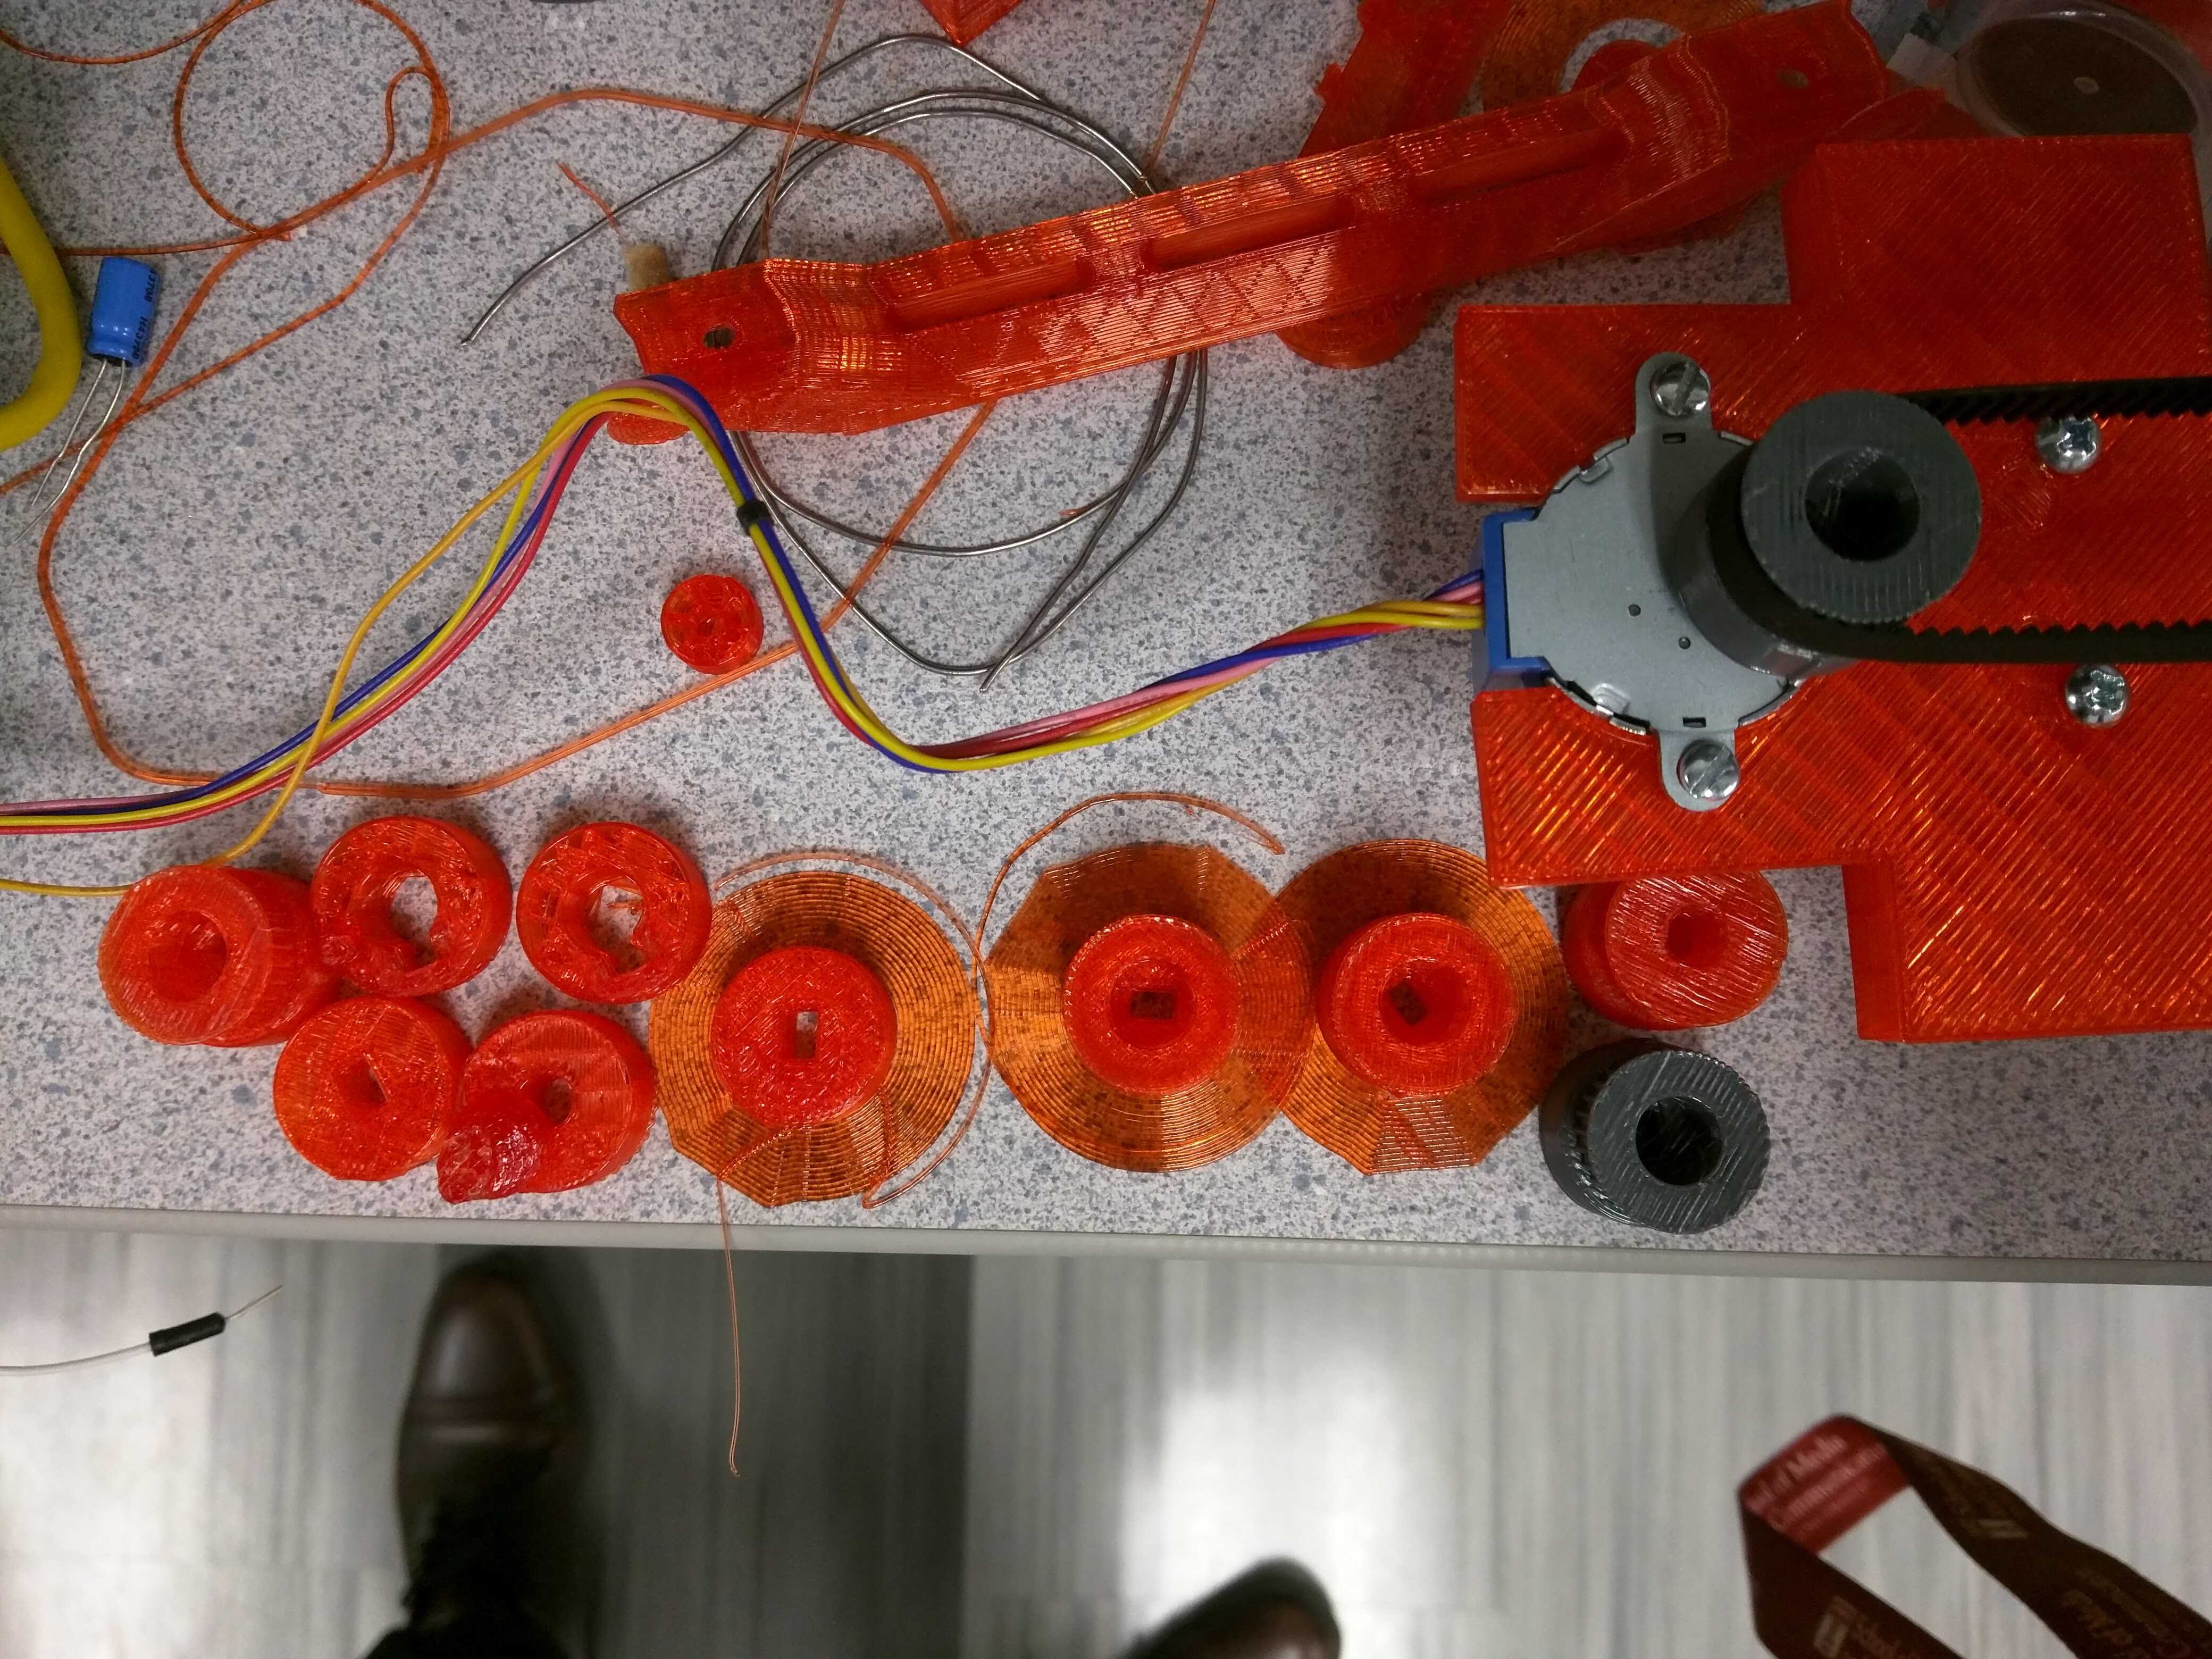
But sometimes, you need to adjust sizes little by little to find an exact fit. Below are the several belt pulleys that I printed and tested while designing a tightly fitting belt pulley.
“Booleans” is a simple and elementary way to combine and cut objects as you intend. You may want to modify a downloaded .obj or .stl file with this function.

Sometimes the “Booleans” function does not work as intended. For example, sometimes when you try to combine two objects, they just disappear when you apply “Booleans.” Reversing one of the object’s “Mesh Display” usually resolves the issue, or sometimes moving or rotating the objects may help.
Once you have an object in MAYA, you can now export the object as a .stl or .obj file. I recommend .obj because it maintains the distance units in 3D slicing software, especially for Slic3r. When you export the object with .stl, you might need to rescale the object 1/10 in the Slic3r software.
Before you export your objects, I highly recommend that you “cleanup” the object’s surfaces as shown below. Some 3D slicing software does not read MAYA exported objects well before you “cleanup.” So it is always recommended to do this procedure.

Now, you should have a file ready to load in your 3D slicing software to prepare for 3D printing.


