Monsters Insight – How to Add Google Analytics to WordPress
Step 1: Sign In to Google
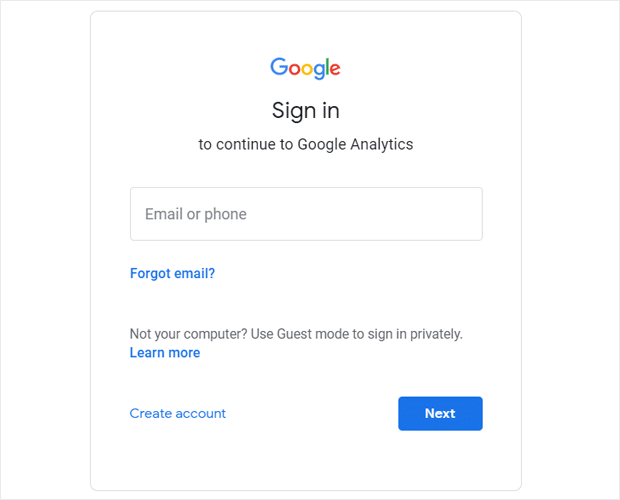
The first thing you’ll need to do is log in or sign up for a Google account.
To get started, you’ll need to open the Google Analytics website and click the Sign in to Analytics link or Start for free button in the top right corner of the page.

Next, you can log in to your existing Google account if you have one, or click the Create account link to create a new Google account.
Step 2: Sign Up For Google Analytics
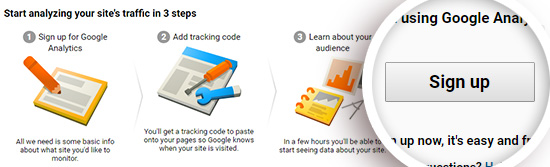
After you’ve signed in to your Google account, you’ll need to sign up for Google Analytics. Click the Sign Up button on the right side of the page to get started.
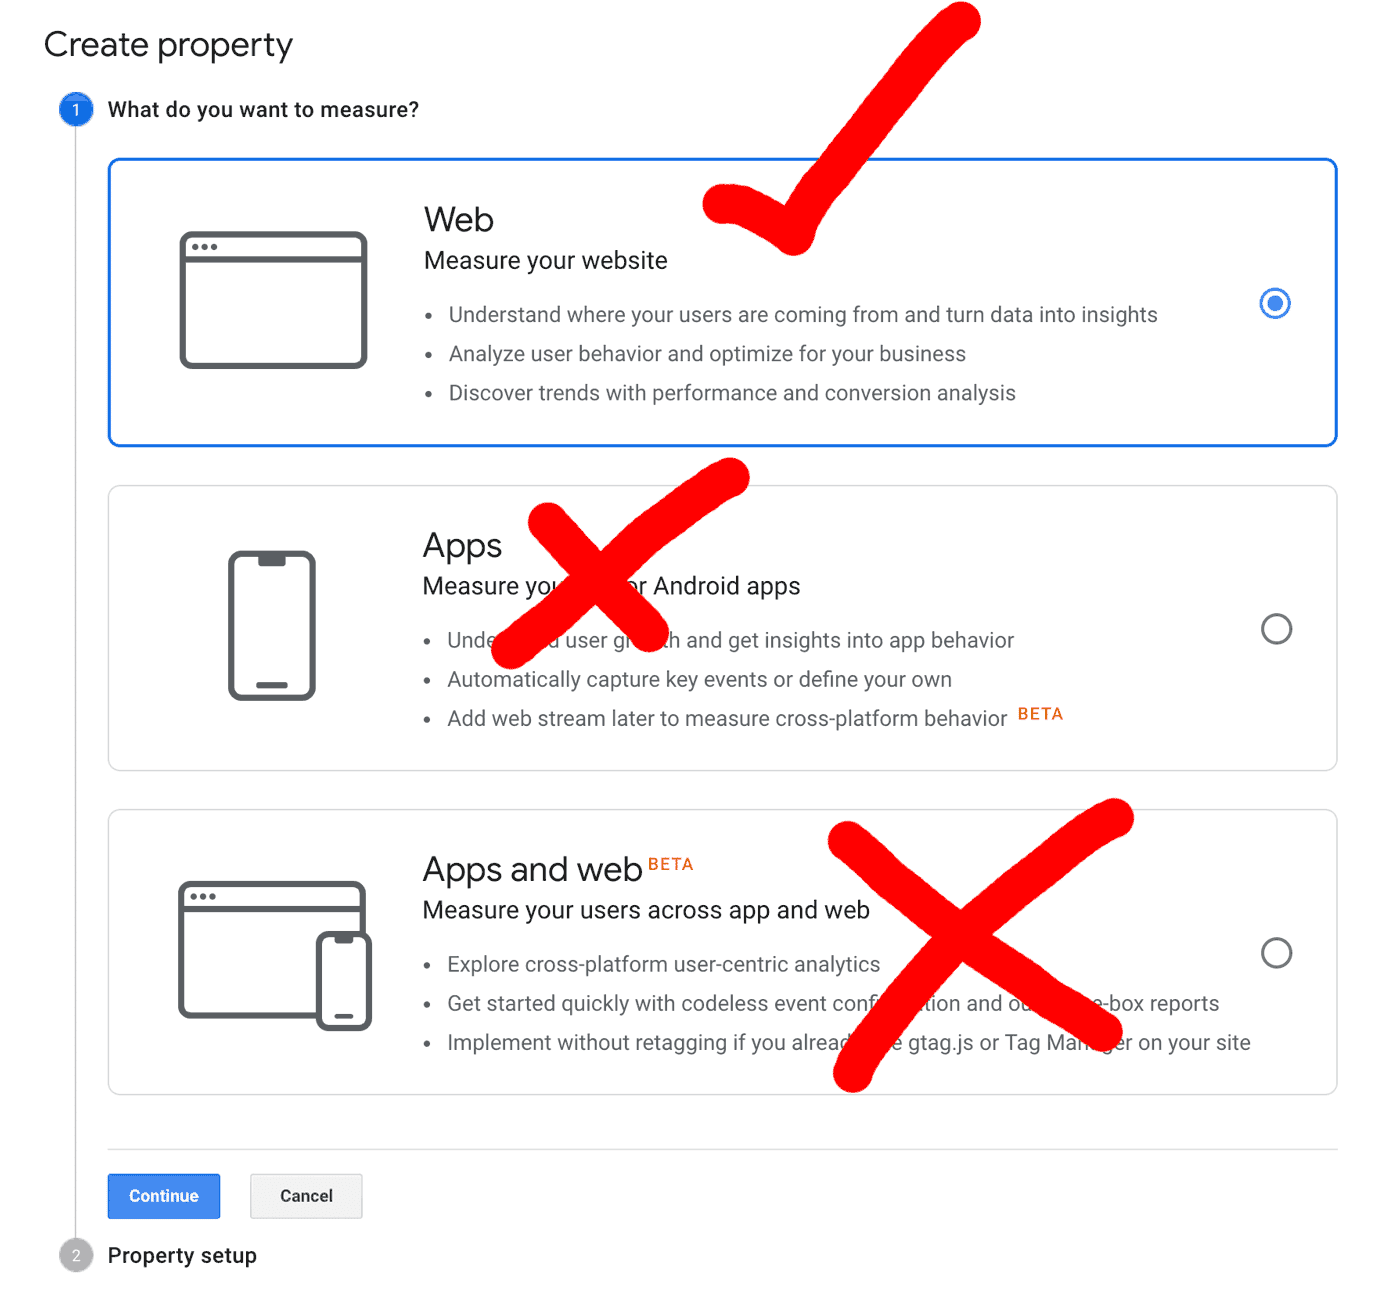
Next, you’ll need to enter the settings for the site you want to start tracking.
Make sure the Web option is selected at the top:
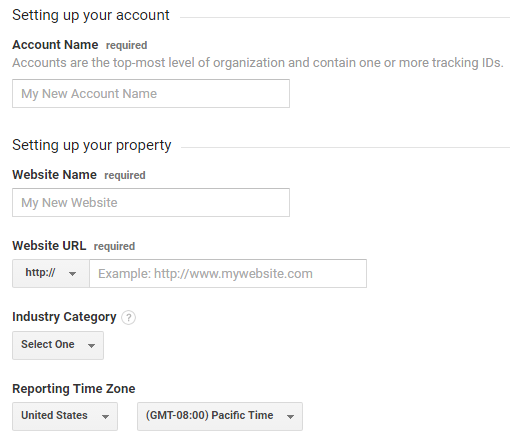
Then you can scroll down to enter your website information. You’ll need to name your Google Analytics account, and enter your website name, URL, and industry, as well as your time zone.
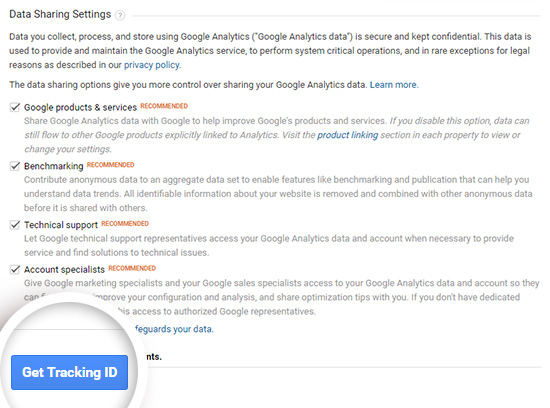
After filling in your website details, you can scroll down a bit to customize your data sharing settings. When you’re finished selecting your options, you can click the Get Tracking ID button at the bottom of the page.
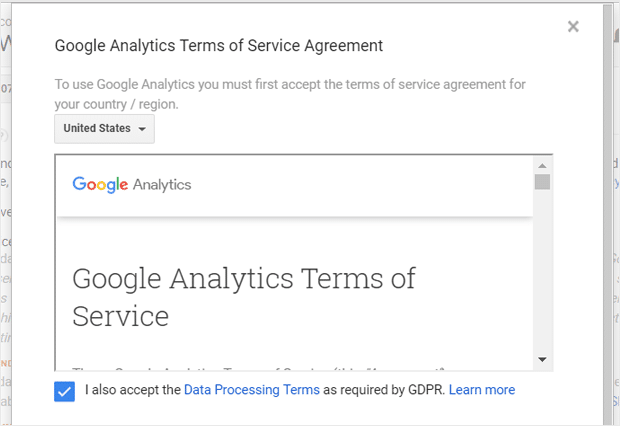
In the popup window that appears, you’ll need to review and accept the Google Analytics Terms of Service and the Data Processing Terms as required by GDPR.
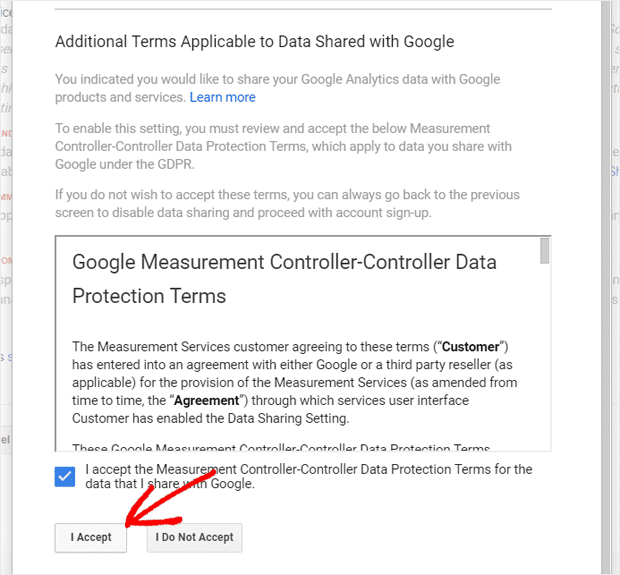
After that, you should also review and accept the Measurement Controller-Controller Data Protection Terms. Check the box stating that you accept this term, and click on the I Accept button at the end.
That’s it! You’re now signed up for Google Analytics. Next, we’ll add Google Analytics to WordPress.
Step 3: Set Up MonsterInsights
Normally, you’d have to insert your Google Analytics tracking code into your WordPress website’s code.
But with MonsterInsights, you don’t need to worry about using any code.
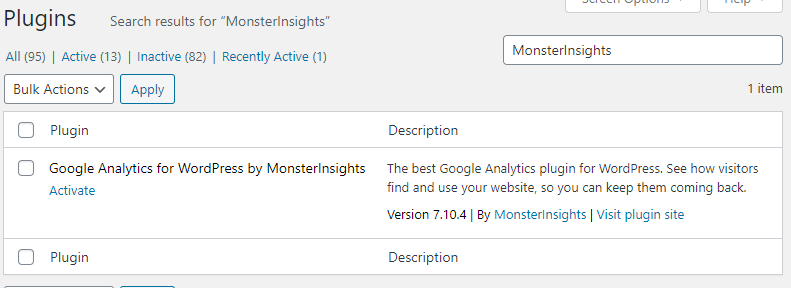
Navigate to the Plugins tab on the left handed menu
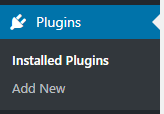
In the search bar Search for ‘MonsterInsights’
Under ‘Google Analytics for WordPress by MonsterInsights’ click the ‘Activate button.’
After the plugin is activated, the plugin setup wizard will open to guide you through the setup process step by step.
At first, you’ll see ‘Welcome to MonsterInsights!’ message and options to choose the category of your website. There’re 3 options: Business website, Publisher (Blog), and Ecommerce.

Select a category that best describes your website, and then click ‘Save and Continue’ button.
If you want to skip the setup wizard, for now, you can click ‘Exit Setup’ button at the top.
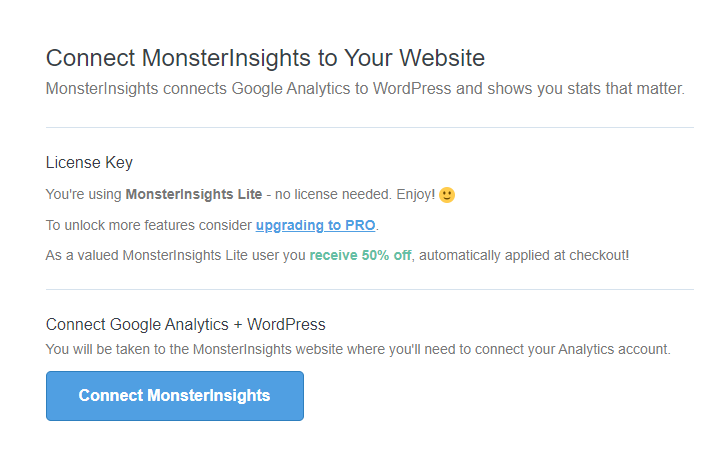
In the next screen, you’ll need to connect MonsterInsights plugin to your website, we are using the free version so we can skip the license key.
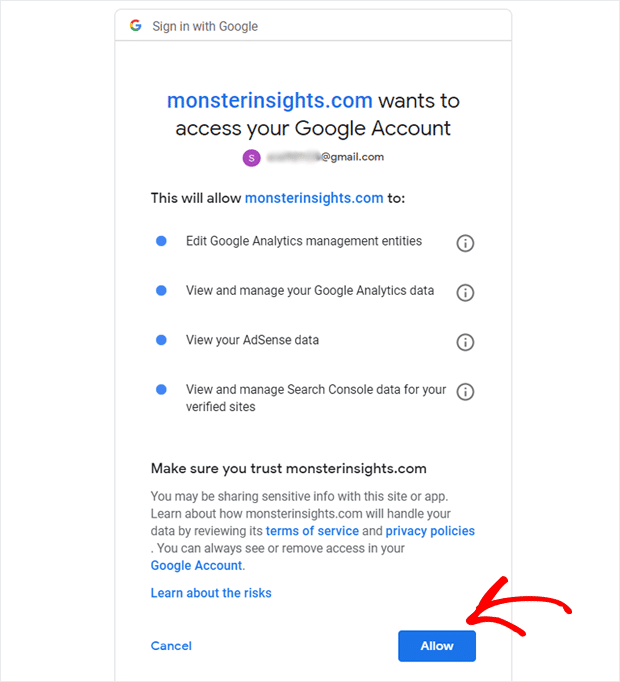
After that, you’ll see an option to connect your Google Analytics with your MonsterInsights account. Select your account to continue authentication.

Next, you’ll need to allow MonsterInsights the proper permissions.
After that, you’ll need to pick a profile to complete the connection. If you’ve multiple websites connected to your Google Analytics account, then you’ll need to choose the right website property here.
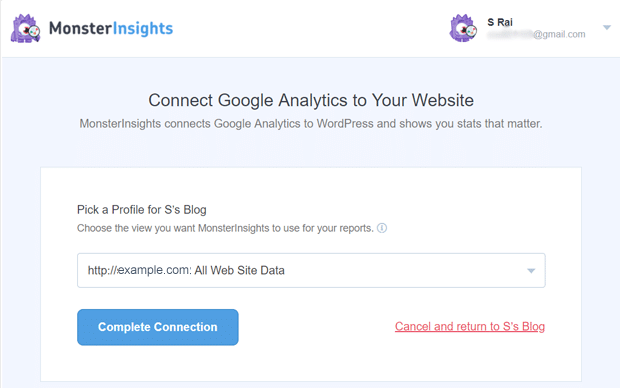
Choose your profile, and then click the ‘Complete Connection’ button.
After that, it’ll finalize the authentication process in a few seconds, and then take you back to your MonsterInsights setup page.
Now you can see recommended settings for the Google Analytics plugin.
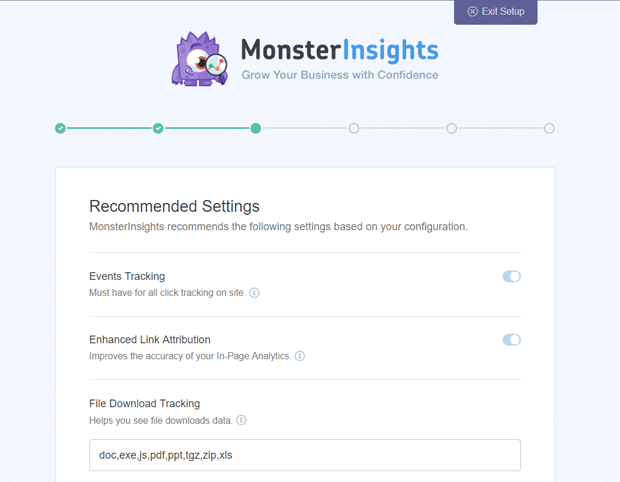
This page includes some of the most important settings as the following:
- Events tracking – Enabled by default.
- Enhanced Link Attribution – Enabled by default.
- File Download Tracking – Most used file types (doc,exe,js,pdf,ppt,tgz,zip,xls) added by default.
As you scroll down, you’ll see more settings.
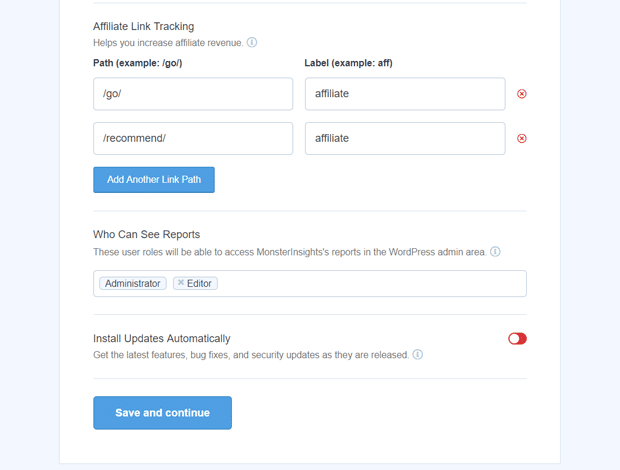
Review and configure these recommended settings, and then click the ‘Save and Continue’ button at the end.
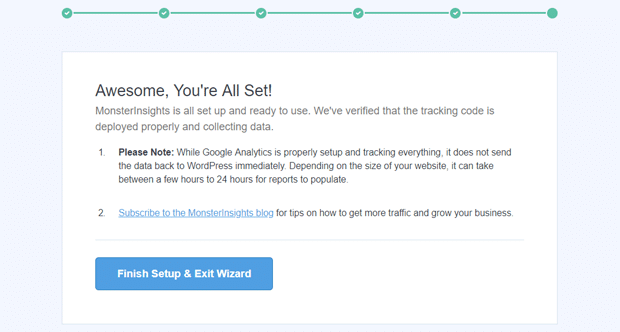
This screen also notifies you about when you can start seeing your website reports. Depending on the size of your website, it can take between a few hours to 24 hours.
Don’t forget to click on the ‘Finish Setup & Exit Wizard’ button.
That’s it! You’ve successfully added Google Analytics to WordPress the right way.
View Your Google Analytics Metrics in Your Dashboard
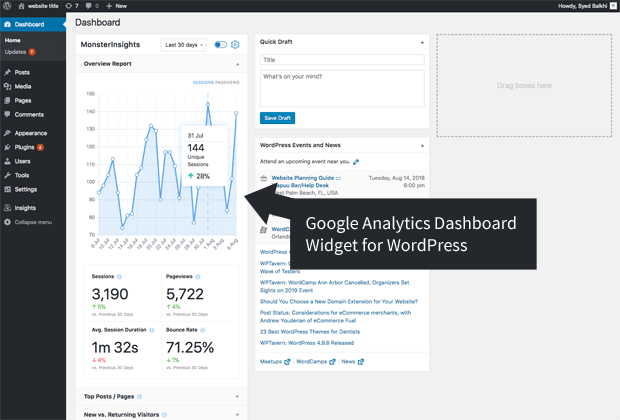
As we mentioned above, it can take a few hours for Google Analytics to start collecting data. Wait for some time, and then you’ll be able to view your WordPress website reports right inside your WordPress dashboard.
A quick summary of the website analytics report is available in MonsterInsights’ dashboard widget.
To view the full reports, you’ll need to visit Insights » Reports from your dashboard. There, you’ll see the overview report first.
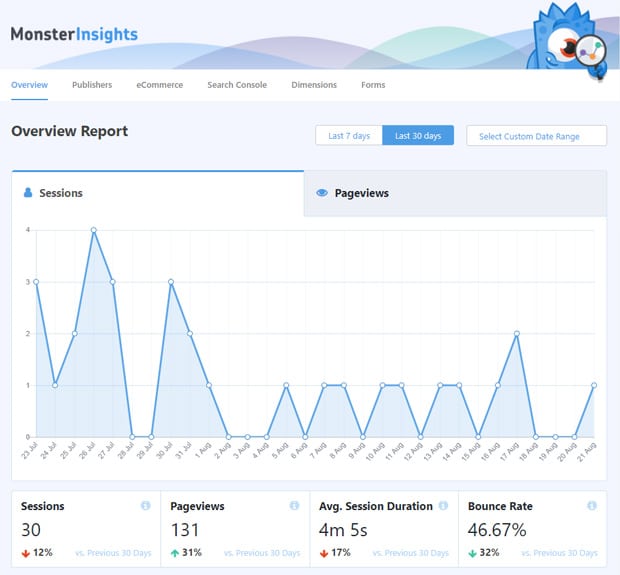
Then, you can view all the other reports by clicking on the tabs/links at the top of the report. Here’re just a few types of data you can track using MonsterInsights’ plugin:
- Top landing pages: Which landing pages are most popular on your site
- Link and button click tracking: Which links and buttons are getting the most clicks
- Search console report: What keywords people are using to come to your site
- Forms tracking: Which forms are getting the most impressions and submissions
You must be logged in to post a comment.