How to build a Landing page in Elementor
How to build a Landing page in Elementor
Written by Yoni Yampolsky, marketing manager at elementor.com
To create a landing page with Elementor, you will, of course, have to have installed the platform within WordPress first.
If you need help installing Elementor and/or Elementor Pro, click here.
Once you have installed Elementor follow the following steps:
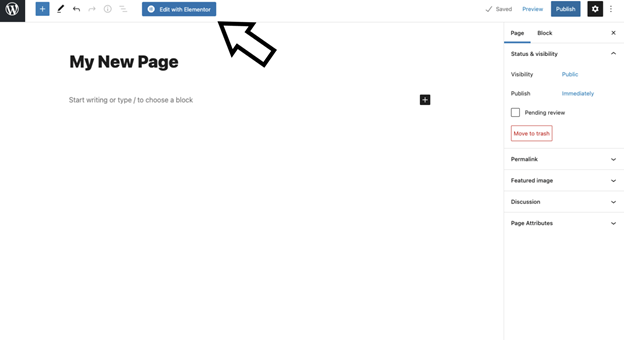
Step 1: Create a new page in WordPress
- From the WordPress dashboard, click Pages > Add New
- Name your page
- Click the Publish button (Visibility options may be set if page is to remain private)
- Click Edit with Elementor to enter the Elementor Website Builder
Step 2: Build your page
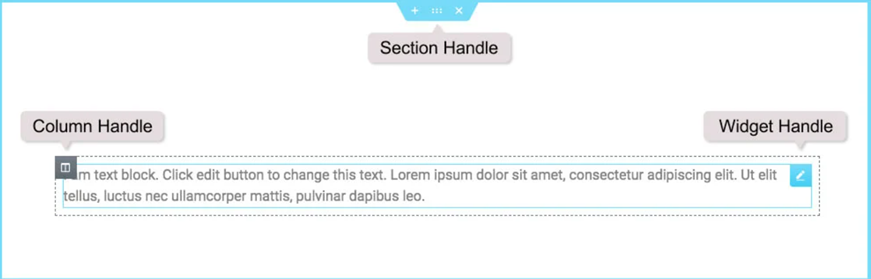
Elementor uses three main building blocks:
Sections, Columns, and Widgets.
Sections are the largest building blocks, and inside them are groups of Columns.
Columns sit inside of Sections and are used to house the Widgets.
Widgets are placed inside of Columns.
You control the Section, Column, and Widgets with their handle.
You can choose to show or hide the editing handles by clicking the hamburger menu to open Elementor’s Style & Settings Configuration menu.
Click the Preferences tab and slide the switch to Yes to show Editing Handles when hovering over the element’s edit button or No to hide the handles on hover.
To edit the Section, Column, or Widget, right click their handle.
What do you fill these sections and columns with?
What will these widgets look like?
You can always design each element from scratch.
However, there are easier approaches:
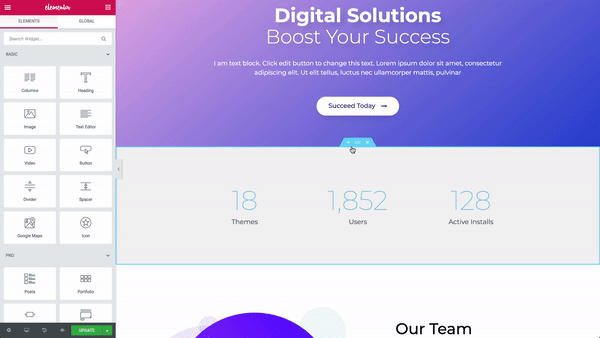
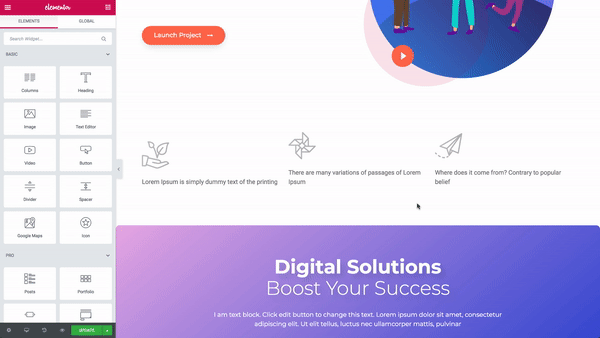
You can choose from a number of different pre-designed blocks, or choose from a variety of professional templates.
To browse Elementor’s templates, click on the ![]() icon.
icon.
You can click on any one of them to examine whether they fit your desired aesthetic.
Once you’ve found one you like, click on the green INSERT button at the top right of your screen.
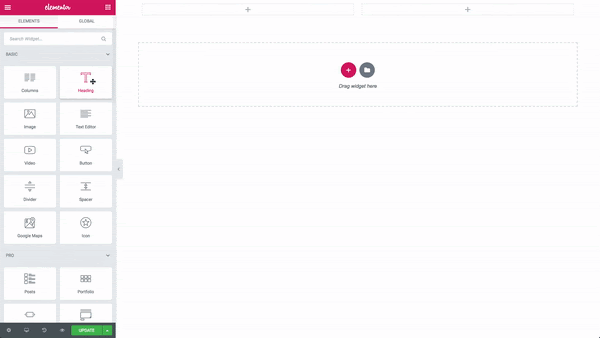
If you’d like to create your section from scratch, Click the ![]() icon.
icon.
You can now set your Column structure.
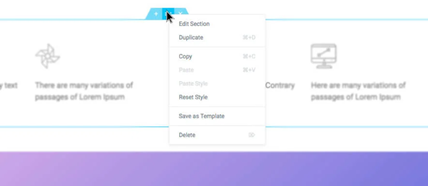
You can also right click to Edit, Duplicate, Copy, Delete etc.
Use the Section handle to: add a section, drag a section, or delete.
What about Columns?
You can set the Columns’ Width under Layout, or drag the dashed line between the Columns.
To add more Columns, right click > Add New Column
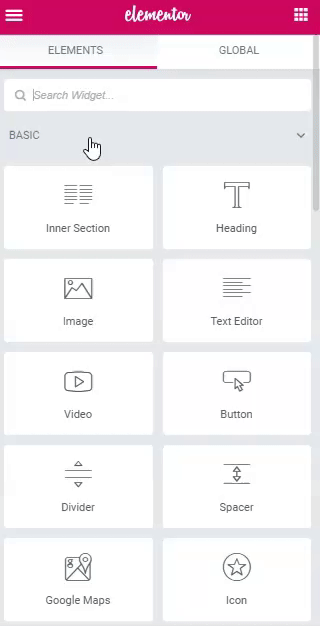
What about Widgets?
Widgets are the creative elements you see on the left side of your Elementor panel:
You can insert them into a Column:
A Widget’s width is set by the Column’s width.
What should you pay attention to when building your landing page?
- Keep your calls-to-action front and center
Unlike most web pages, landing pages often actively discourage exploration in an attempt to push visitors towards the Call-to-action, or CTA.
Your landing page CTAs can either be focused on lead generation or encouraging click-throughs.
You can create a CTA from scratch, or choose from a variety of professionally-designed CTA blocks.
Elementor Pro users can leverage more dynamic, eye-catching CTAs
When writing the copy for your CTAs, try to be as specific as possible.
Your users are more likely to take action if they know what you’re asking them to do.
Be mindful of where you place your CTAs.
If your landing page is long, you’ll want to include them throughout your content, so one will always be conveniently located when a user decides to take action.
- Write concise headlines
Website visitors value concise writing, mainly because people tend to skim web pages rather than read them deeply. Keeping your headlines brief and to the point can help users find the information they’re most interested in.
Writing powerful headlines takes some practice. If you’re stuck, you can use a headline template to get started.
- Make your landing page engaging
One way to keep viewers scrolling through your offer is to include animation. You might use this to draw attention to your main points or keep it subtle with a parallax effect.
- Use contrasting colors
Using contrasting colors not only keeps your landing page visually interesting; it’s also an essential part of accessibility. This can be challenging when you include text over an image.
To ensure that there’s enough contrast between your colors, try viewing your landing page in grayscale.
You can use Elementor’s filter effects for an easy way to do this.
- Use legible fonts
When choosing fonts, consider the following tips:
- Limit the number of different fonts you use across your site and landing page
- Choose a font that can accommodate different screen sizes
- Increase the white space between letters to improve the readability of your content
- Remember that serif fonts work well for large chunks of text
You can even use customized fonts with Elementor, so your landing page will be legible but still on-brand.
Step 3: Preview and Publish your page
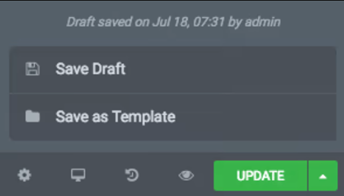
After you’re done designing your page, you can Preview it and Publish it.
Go to the bottom panel:
- To preview, click the icon.
- If you are satisfied with the result, go ahead and click the button.
- Click ‘Have a Look‘ to view the published page

Optional Step 4: Save Draft
You can edit a Published Elementor page and save your work as a Draft. That means that you will not ruin your published page while saving your work as a Draft.
Here’s what you need to do:
- Click the arrow next to Update / Publish
- Choose Save Draft
You must be logged in to post a comment.