How to allow people to get updates when you post new things in your blog.
Adding the ‘Email Subscribers & Newsletters’ Plugin
The first step is to search for the ‘Email Subscribers & Newsletters‘ Plugin.
Once you have located this plugin, activate it on your site. 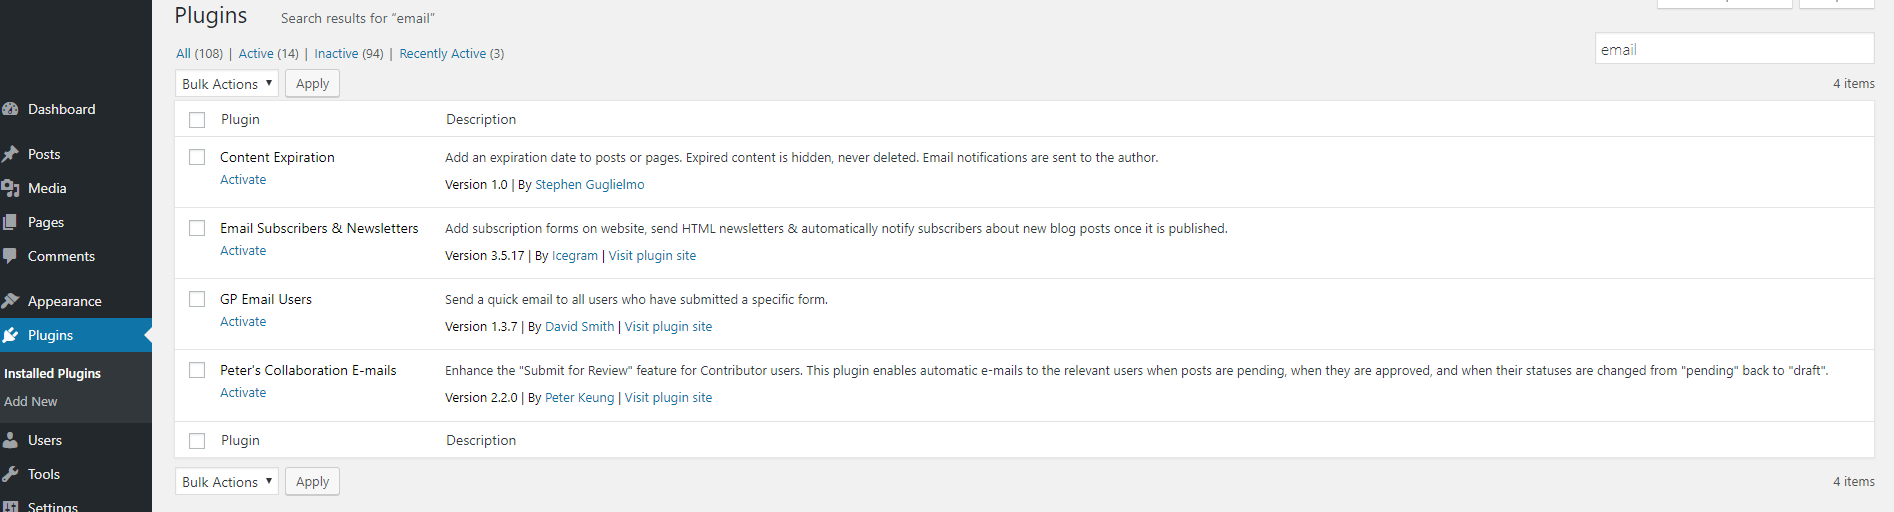
Once the plugin is activated it will automatically take you to a new Dashboard tab called ‘Email Subscribers’

Editing the Default Post Notification Emails
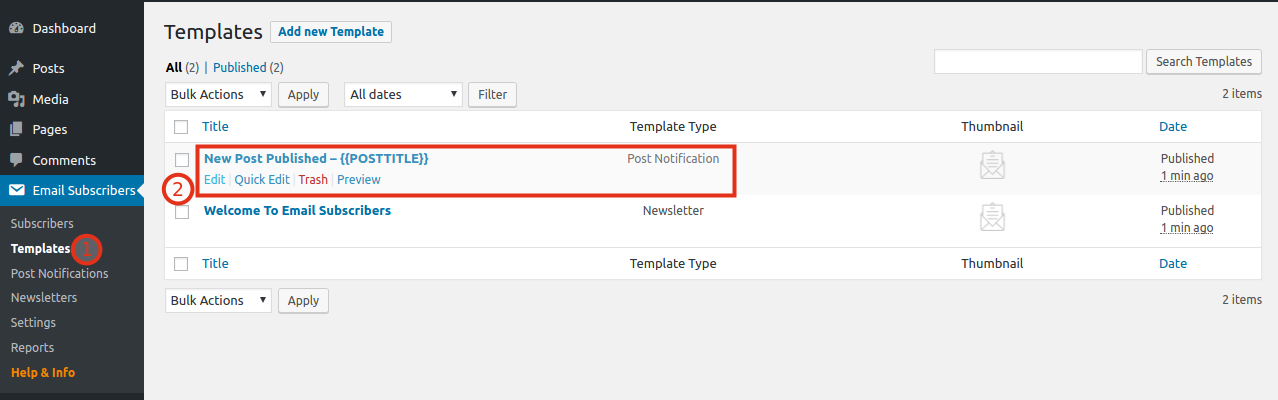
Step 1 : Go to your WordPress Dashboard -> Email Subscribers -> Templates
Step 2 : Click to edit the default Post Notification Template
Step 3 : Start editing, but remember to keep it as generalized as possible and use the keywords appropriately
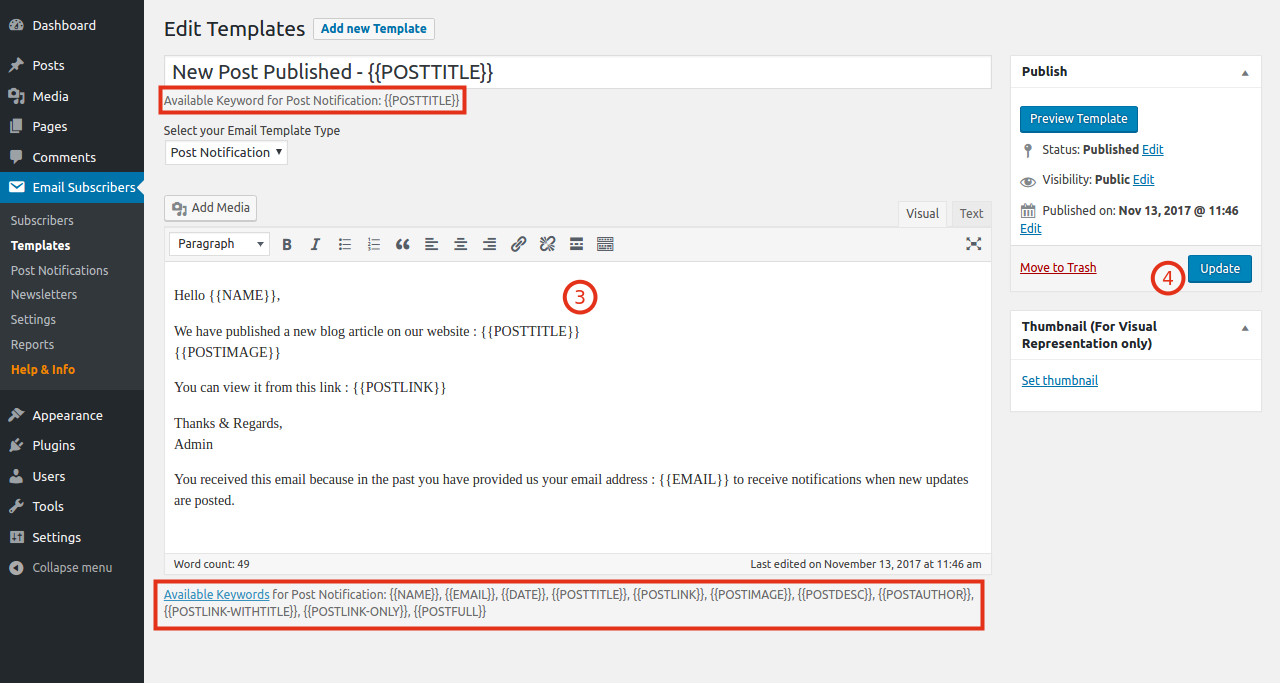
Step 4 : Click on Update.
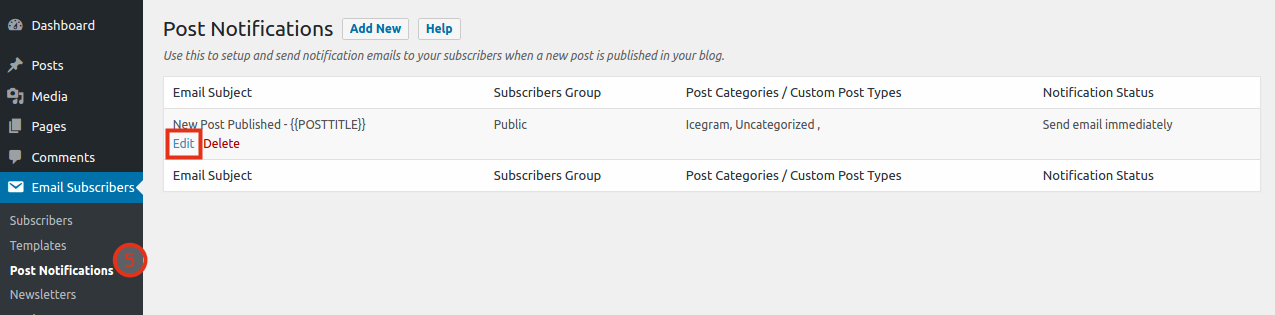
Step 5 : Now go to your WordPress Dashboard -> Email Subscribers -> Post Notifications. You will see a default notification. Click on edit
Step 6 : Select group, default notification & blog post category you want the email to be sent for
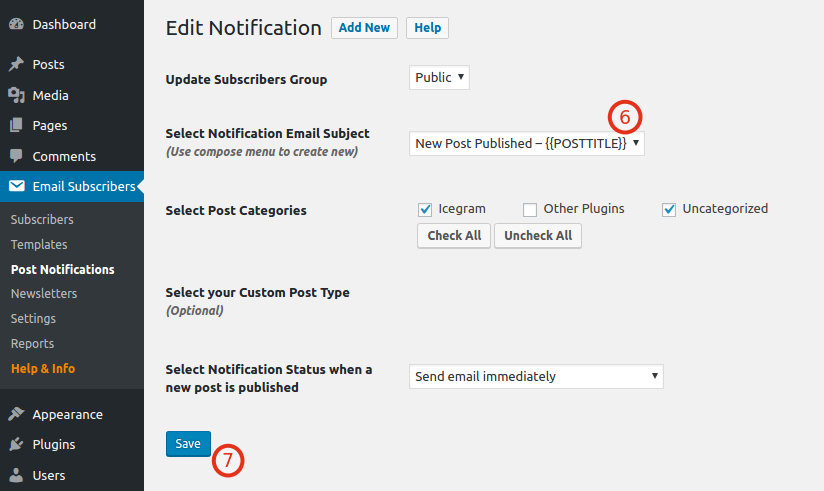
Step 7 : Click on Save.
Editing the Default Post Notification Emails
Using Widget
Go to WordPress Dashboard -> Appearance -> Widgets. Drag and drop the Email Subscribers widget to your sidebar location.
 After adding widget, you can change :
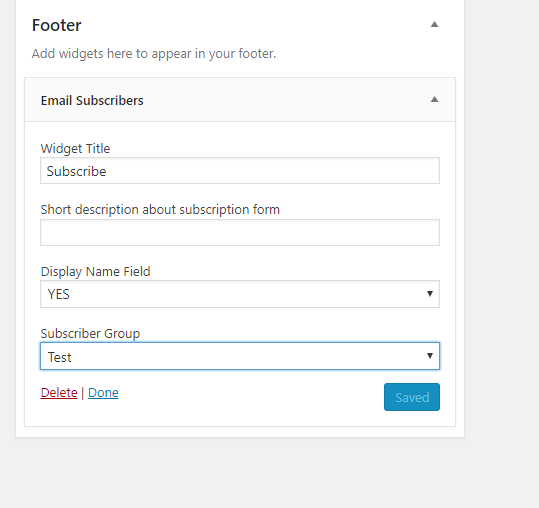
Widget Title : A title for your subscribe form to show on widget.
Display Name Field : Select whether you want subscriber to enter their name. Default it YES.
Short Description : A description text that you want to show above subscribe form widget.
Subscriber Group : The group you want subscriber to go on – default is Public (The mentioned group should be created and should have atleast one subscriber in it).

You must be logged in to post a comment.