Create Forms with Gravity Forms
How to add a Gravity Form to your site
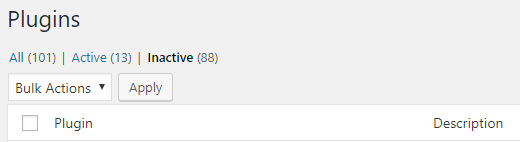
Activate the Plugin
- Click on Plugins on the dashboard.
- If you are not on the Inactive plugins, then click Inactive.
- Click Activate under Gravity Forms.

You will then be notified that the plugin has been activated.
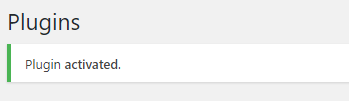
If you do not see a Forms link on your dashboard, reload/refresh the page.
Create the form
- Click the Forms link on the dashboard (note: where Forms appears in the list of menu sections may change.)
- Click Add New.
- Select a form template. You can select a blank one or select from the list of templates provided to you,
- Give your form a title and optionally a description.
Add/Edit fields
To add fields to your form, simply drag the form the Add Field menu on the right-hand side of the dashboard.
To edit the field, simply click on the field and look on the right-hand side of the dashboard for the Field Settings menu.
Alternatively, hovering your mouse over the field will prompt a menu that allows you to Move, Duplicate, Edit, and Delete the field.
Save form
Once you have completed the form, click the blue Save Form button on the top right of the dashboard. Once you have saved the form an indicator will show up on the bottom left of your screen indicating that it has been saved.
Preview form
After you save your form you can preview it by clicking the Preview Form button on the top right of the dashboard. If you do, a sample of the form will appear in a new window or tab (which one depends on your browser and its settings).
Email notifications
When a form is filled out and submitted, the site-owner is emailed by default. To change who is emailed, navigate to Settings then Notifications section.
When you are done setting up email notifications, click Save Settings at the bottom.
Add form to a page/post
To have the gravity form appear on a post click the Embed button. You will be able to add to an existing post/page or create a new one. Alternatively, you can press Copy Shortcode to paste on pages that you are not using the block editor on.
You must be logged in to post a comment.