
Notes on arrival
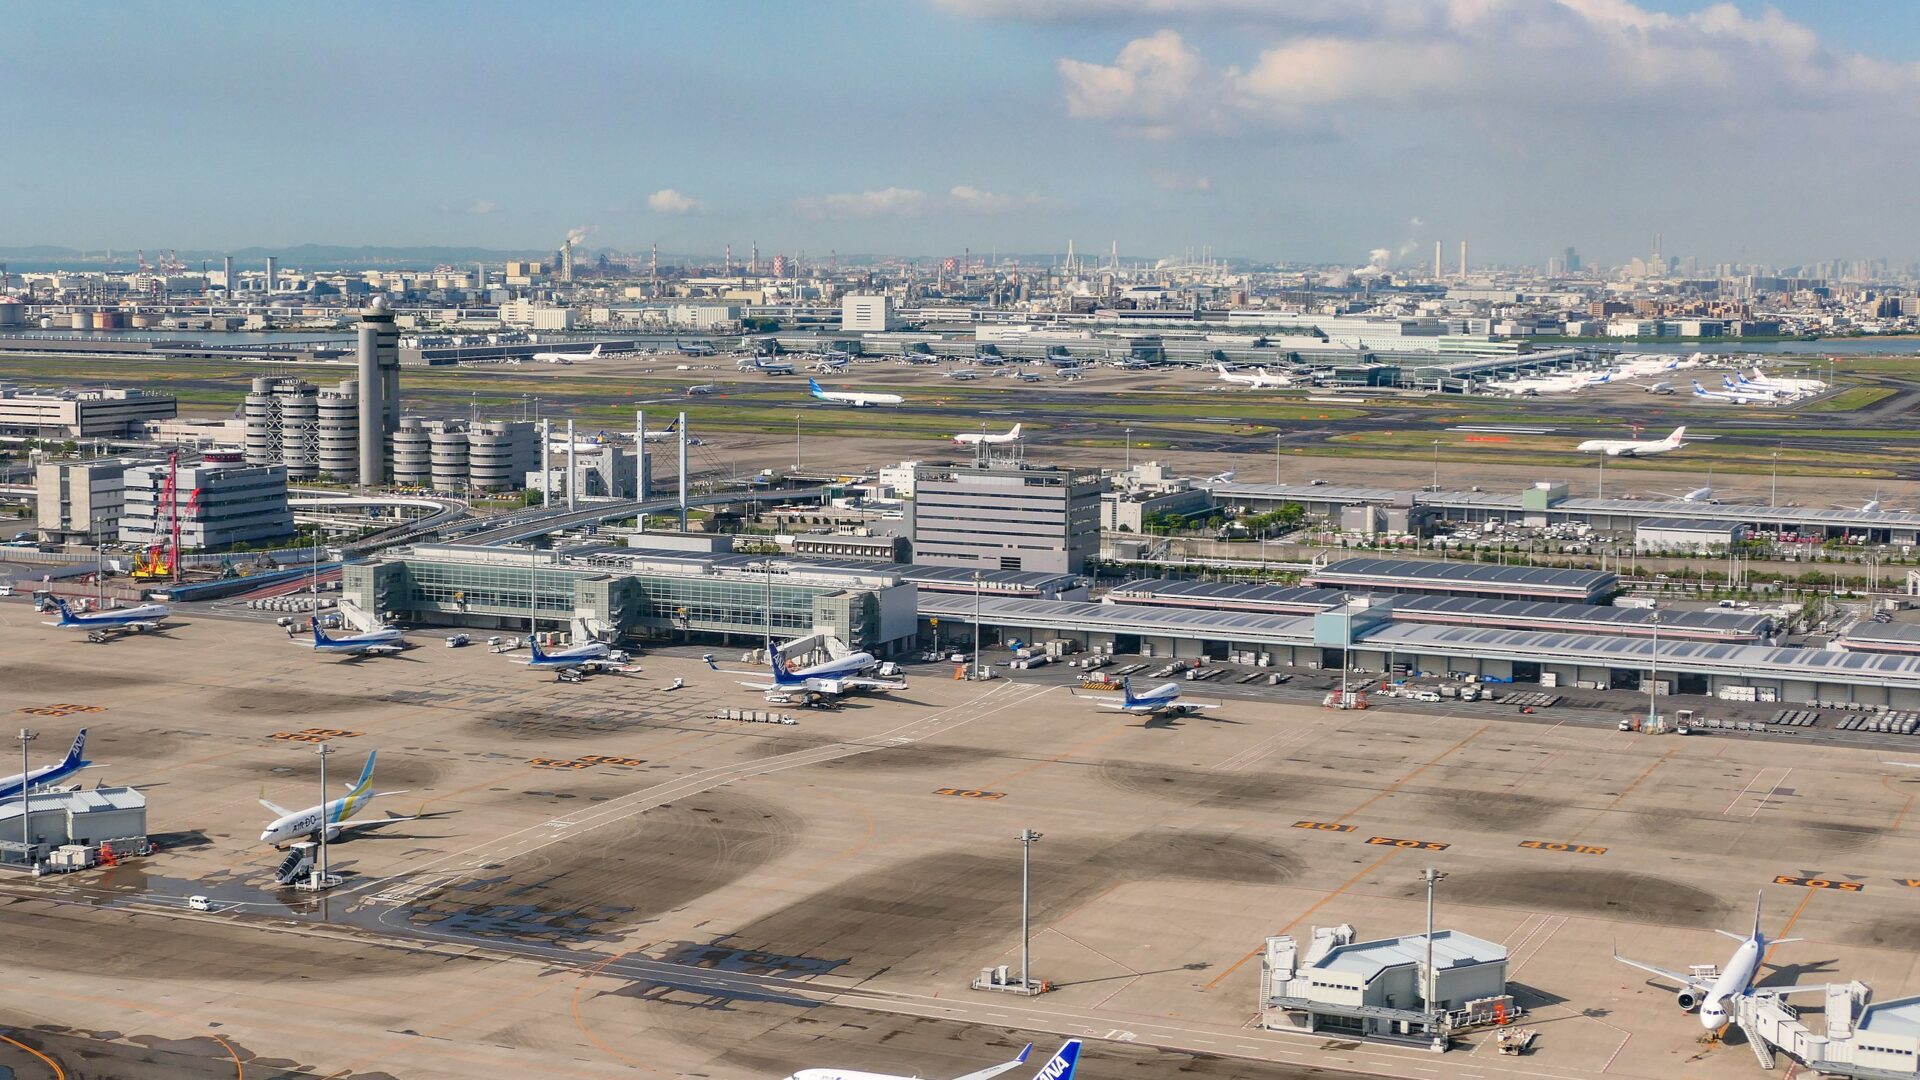
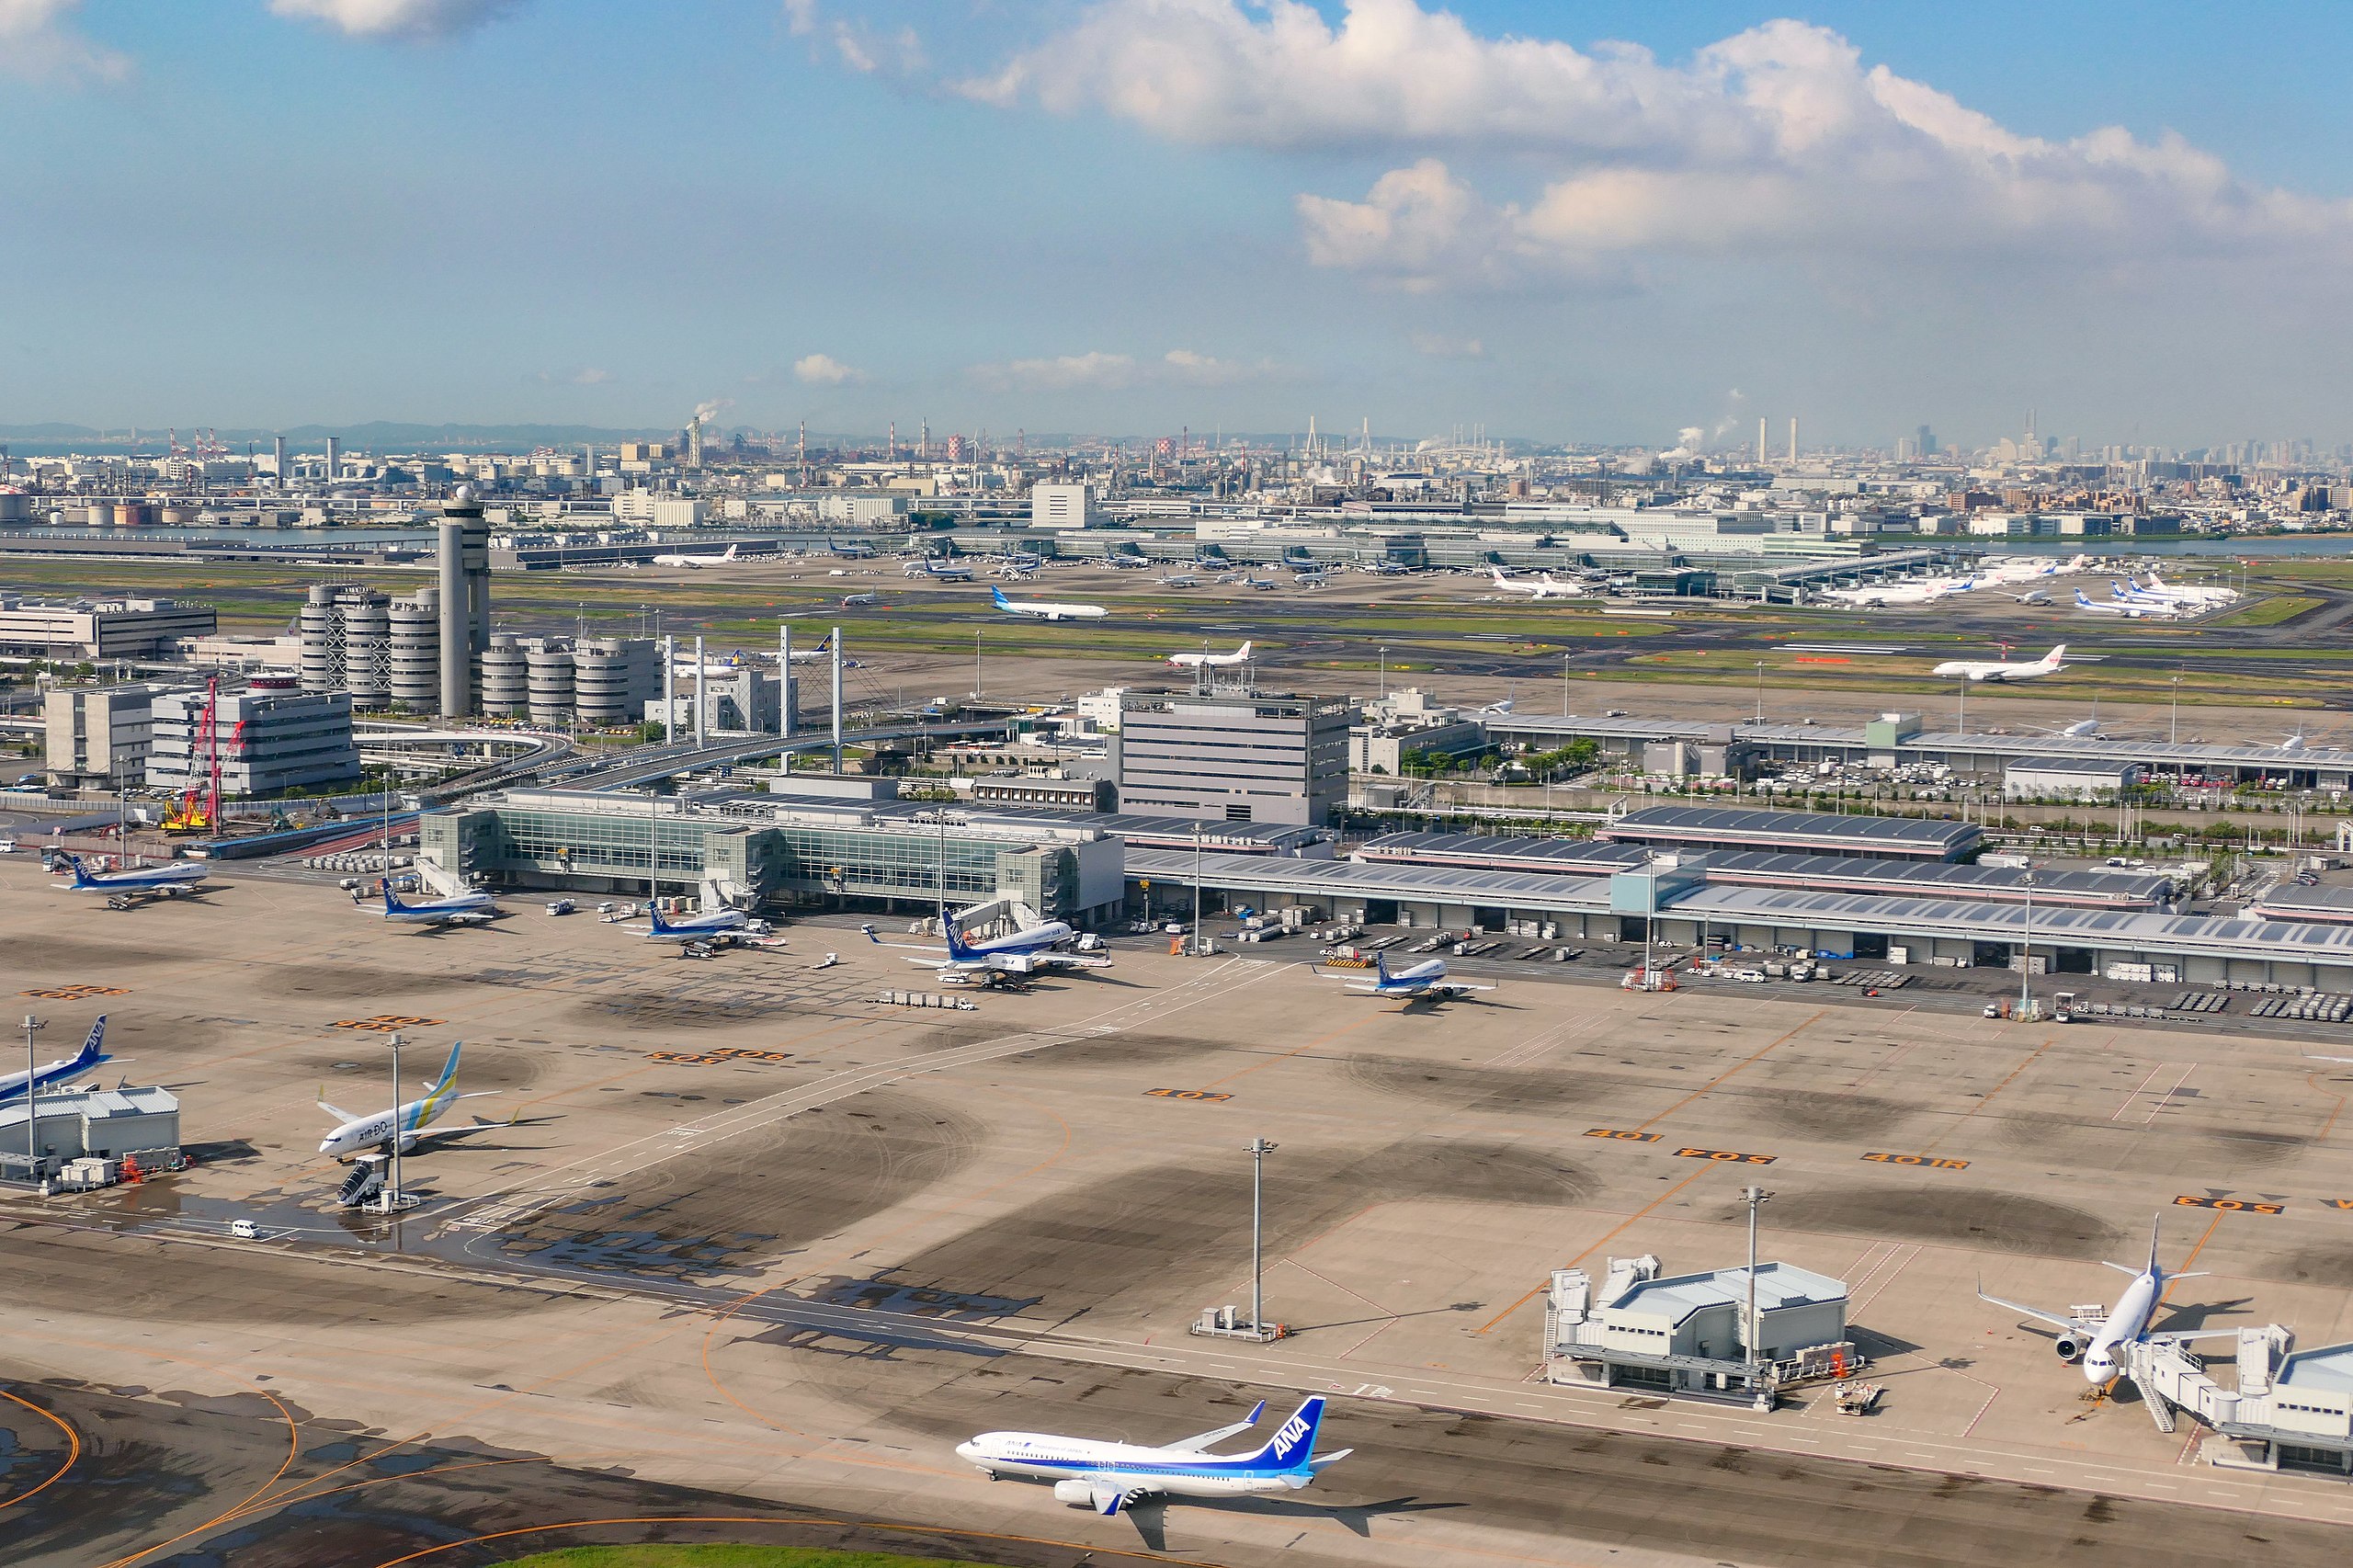
Even if you’re a seasoned traveler like me, arriving at Haneda International Airport (especially after a very long and very exhausting flight) can be a little overwhelming. Fortunately, if you remember that (1) most airports must be navigated “sequentially,” and that (2) Japan is, generally speaking, a very orderly country, you can prepare for disembarkation and departure from the airport with relatively little difficulty. Here’s how my experience went, along with some suggestions.
Before you depart
There are a couple of important things to check off of your to-do list well before you leave the US, and while they won’t necessarily apply to everyone in every instance, they could cause significant delays or problems if you don’t anticipate them.
Visa paperwork
The Associate Dean of Academic Affairs (ADAA) at Temple Japan is your liaison for most everything when it comes to travel. The process is straightforward, but don’t put it off. Here’s how the process worked for me.
- Check your passport! You need to ensure that your passport has at least six months left before it expires, but even that’s pushing it. Mine was valid through March 2025, so I was all set, in that regard.
- Get your Certificate of Eligibility. Several months before you depart, you’ll be asked to complete a few pieces of paperwork that will yield something called a Certificate of Eligibility (COE), which is issued electronically as a strange-looking PDF. As soon as you have this in hand (virtually), you should…
- Complete the paperwork for your visa application. This includes filling out an application (I recommend you print this and fill it in by hand, as it seems a “wet ink” signature is required); you will also need one 2×2″ passport-type photograph, which should be glued or taped to the application.
- Set an appointment for your visa application. You have to do this in person at the Japanese Consulate in New York, which serves residents of Pennsylvania, Delaware, and New Jersey. Make an appointment online using their (very basic) system, keeping in mind that availability may be limited, and you’ll probably have to plan to visit a few weeks in advance. Bring the paperwork (your COE, your application, and your state ID) to the consulate.
- Wait for your visa. You can either return to NYC to pick up your visa (note that the consulate will keep your passport while it is being processed; the visa is a page-size label that is adhered to an empty page), or you can leave behind a pre-addressed, postage-paid envelope, and they’ll mail it to you. The latter is the option I took advantage of. Before heading to the consulate, I popped into the Farley Post Office (it’s right next to Penn Station, where I’d arrived) and grabbed a Priority Mail envelope along with the necessary postage from one of the automated kiosks. That way, I had a tracking number and knew my passport would arrive promptly once the visa was issued.
Medications Abroad
Make preparations for any prescription medication you will need while away. This will, unfortunately, be a bit of a hassle–it took a lot of research for me to discover that Japanese pharmacies will NOT honor American prescriptions. In other words, there are no CVS locations you can just transfer your prescriptions to. Instead, you would have to see a Japanese doctor to get a new prescription… but only if the doctor agrees with the American diagnosis and treatment plan.
What I ended up doing was making an appointment with my doctor a few weeks before departure, and at that visit, I filled her in on what was going on. She wrote me a letter that listed all the medications I am currently prescribed, which is a must-have (I’ll explain why in a moment); she also issued brand-new prescriptions to the pharmacy for 90-day supplies of everything, with at least one refill on each.
The reason for this: You need to take enough medication with you to last the entirety of your visit (a semester, in my case). However, as you well know if you are covered under commercial insurance, refills are strictly timed–if you ask for too much of a medication too soon, the insurance company is likely going to balk and refuse to pay. What I ended up doing was taking these new prescriptions to an entirely new pharmacy that I had never used before, where I spoke directly to the pharmacist and explained what I needed. He was happy to fill them for me, and the cost ended up being pretty reasonable, too–around $100 in total for six-month supplies of five different medications (this was at the Rite Aid on Marsh Road in Wilmington, using the WellRx prescription discount card, which seems to offer better prices than GoodRx).
There’s one more step after this. If you’re bringing more than a 30-day supply of any prescription into Japan, you must apply for something known as a yunyu kakunin-sho, which is essentially a special import permit for pharmaceuticals. If at all possible, use the Ministry of Health, Labor & Welfare’s special website to apply for this permit online–it will be processed much faster, and it will allow you to avoid having to fill in the antiquated Microsoft Word version of the same form. Usually it takes 2-3 business days to get the thing, and it’ll be sent to you as a PDF attachment to an email. Don’t wait until the last minute to get this done, and don’t chance not having it on you when you arrive, because Customs may very well ask to inspect your luggage.
On the Plane
Bring a pen! You’ll need to fill in a customs declaration form and a disembarkation card while you’re in the air. Believe me, it’ll save you a lot of time and frustration to have these in hand when you step off the plane. The forms themselves are pretty straightforward–if you’ve ever traveled internationally before, you’ll be familiar with the kinds of things they ask for (e.g., passport number, address while abroad, mode of arrival, etc.).
When You Land
Congratulations, you made it! You’re probably itching to get off the plane (I know I was), but make the process faster for yourself by familiarizing yourself with what will come next. (This all assumes that you’ve landed at Haneda Terminal 3.)
- Go through “decontamination” (…or something?). This was the one step of the process that I found confusing, as the signage is unclear–there are people sitting at desks behind things that look like camcorders (supposedly they’re COVID-19 temperature monitors), and it isn’t immediately obvious that you’re just supposed to walk past them. The arrivals area is right behind them.
- Find the right queue. There are several different queues, all of which will likely be long, but if this is your first visit (that is, you’ve never been to Japan before), look for the “Visitors” line.
- Get fingerprinted and photographed. Before you are allowed to join the Visitors queue, you’ll be asked to present your passport to an agent who will also tell you to place your index fingers on a scanner, and your photo is taken. This was some sort of biometric security measure that supposedly speeds things up when you reach a checkpoint agent.
- Hand over your passport/visa, your COE, and your disembarkation card. These are the documents that the border guard will want from you–yes, they will ask to see the COE you were issued before you got your visa, for some reason, so print a copy and bring it with you. Note that the agent will also look at what you write down for “duration of stay” on your disembarkation card and compare it to the length of your visa, and you may be questioned if they aren’t the same. I wrote down “5 months” on the card, for example, but my visa was valid for a year (I think this is just the default length for the type of visa I was issued, I don’t know), and it confused the agent, so I was sent to another border guard instead. Ultimately it was a non-issue.
- Collect your resident card & entry stamp. Once everything is approved, the guard will print out a temporary residency card for you; you can carry this with you instead of your passport while you’re in Japan. They’ll also add another sticker to your passport showing your entry into the country.
- Pick up your checked bags & head to Customs. There is some sort of digital customs system available for certain visitors, but it doesn’t seem to apply to those of us with longer-term visas, so once you get your bags, just head straight to the lines in front of one of the Customs counters. Hand over your passport, your customs declaration card, and a copy of your yunyu kakunin-sho (if you had to get one for your prescriptions, that is). My experience with the agents was very pleasant; he did ask to see my medications, but he simply compared the labels on the bottles with the names of the medications printed on the form. It took maybe two minutes, and he waved me through.
- Pick up your SIM card. Did I mention that I pre-ordered a Japanese SIM card from Mobal online several weeks before I left? Well, I did, and I needed to pick it up–and the pick-up area was at a desk just outside the arrival hall exit, at a desk situated alongside private car pickup service agents. A peek at my confirmation number and passport was all he needed, and he handed over a little kit that included everything I needed to install the SIM into my unlocked iPhone, which I did right on the spot. It took maybe twenty minutes for it to become active after that.
- Grab some cash. My understanding is that many ATMs in Japan do not accept foreign debit/credit cards, but the ones you’ll find in the arrivals area at the airport will, so this is a good time to get a bit of money for the next step…
- Get a taxi. You’ll need to take the elevator down one level to the taxi stand. It’s cramped and there’s some confusing signage, but look for the queue dedicated to the Tokyo area and indicate to the person managing the stand how many people are in your party. You’ll be directed to a cab, and the driver will happily assist with loading your luggage. Make sure to have your destination address printed out (or readily viewable on your phone), as it’s apparently easier for many Japanese cabbies to find addresses when they are written in Japanese.
And there you have it… you’ve arrived!