How Can We Help?
How to build a Landing page in Gutenberg
Creating a Landing page with Gutenberg editor
It is good to use themes that were created specifically for the Gutenberg editor. A few good ones to use on your single page site would be Neve, Twentynineteen, or Reykjavik
Step 1: Choose your page layout
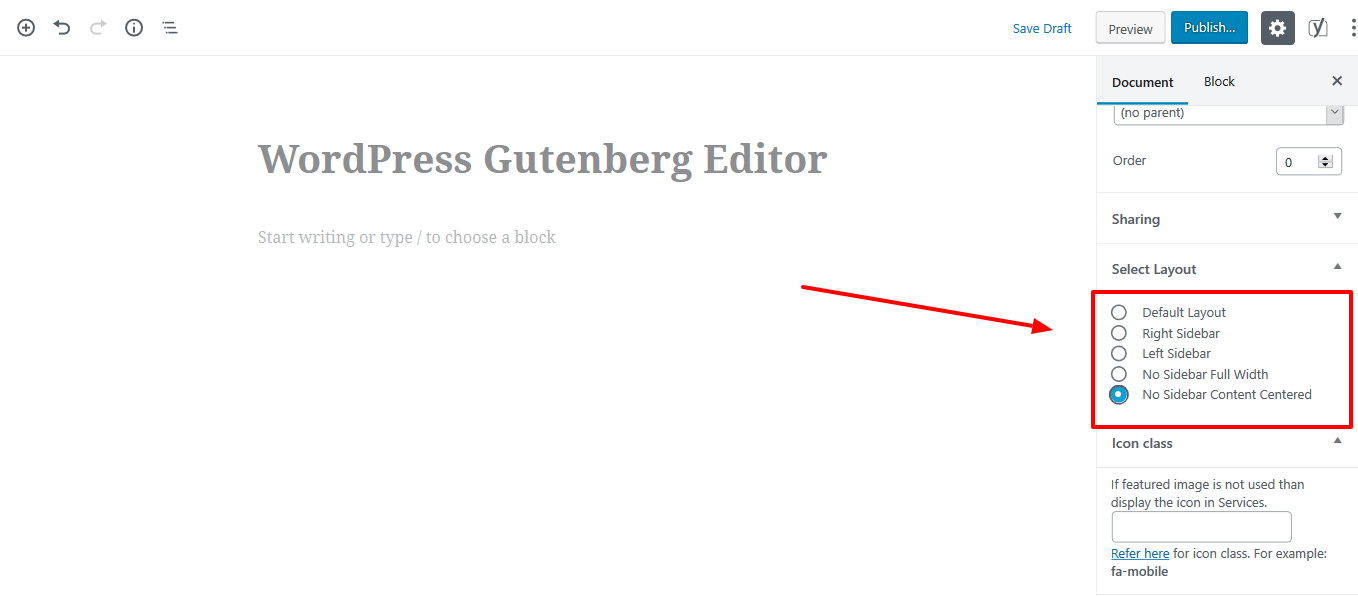
To give your page enough space, you’ll want to choose a layout without a sidebar.
You can select a layout from the right side under the document section. Using either of the layouts with no sidebar is a good choice. For the test design, I have chosen no sidebars with the content centered (rather than full-width).
Step 2: Plan out your basic landing page design
Next, you want to make a plan for the general design of your landing page so that you know which elements you’ll need to include.
Beyond thinking about which elements you’ll need, also consider how you want to arrange those elements.
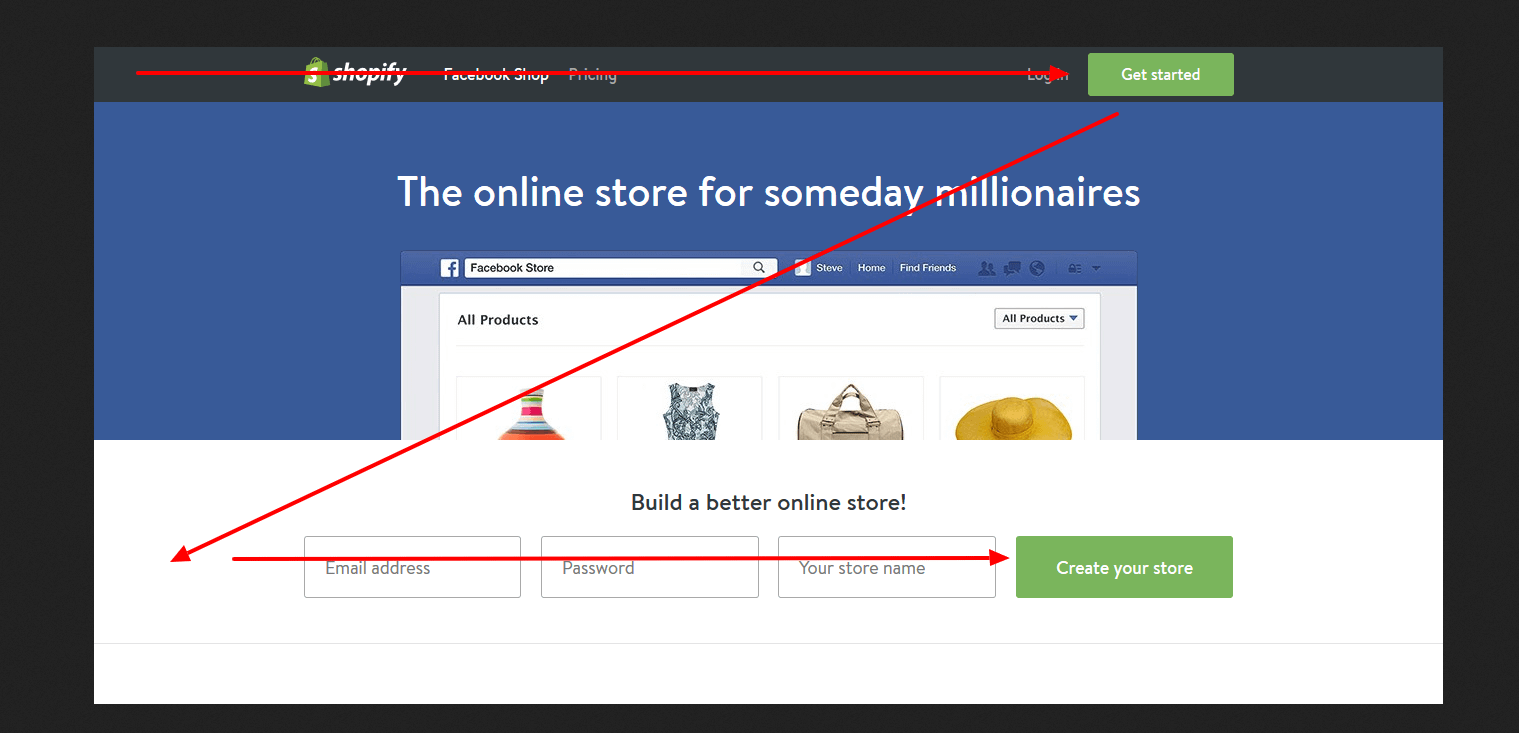
One common approach is to use a Z-pattern. This pattern is good for pages with minimal content.
The Z-rule is based on the fact that a user starts viewing the page from left to right on the menu bar, then goes to the bottom-left corner and then again goes to the right side (provided that the page isn’t content heavy). This design is used by some popular platforms like Shopify, Facebook and many more.
Feel free to use any design type for your landing page as long as it follows good basic web design principles.
Step 3: Use blocks to add elements to your landing page
Now that you have the important info, you’re ready to start building your page. Usually, it’s easiest to just start building at the top of the page and move down.
For our example, we will start with the main headline and subheading.
Heading, subheading, and background image
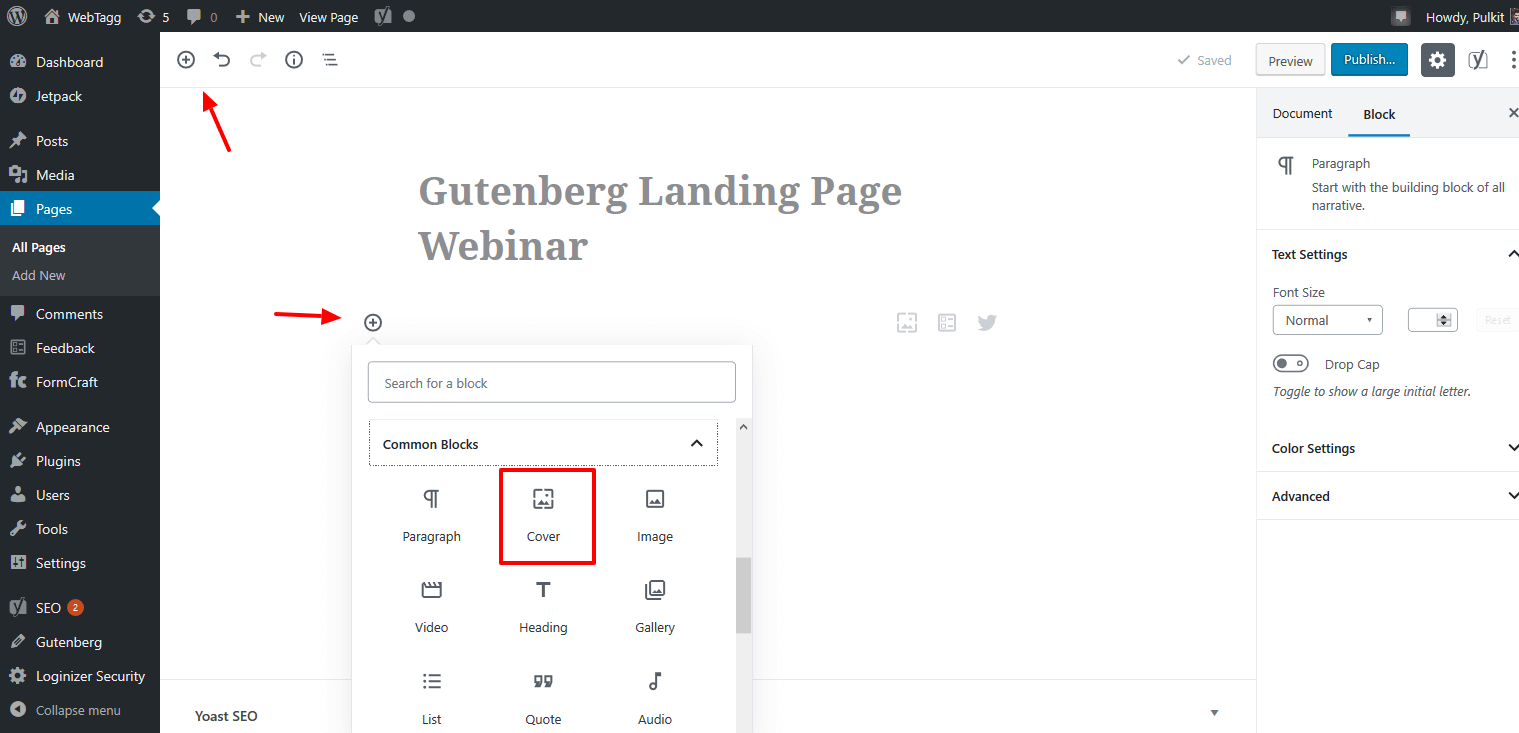
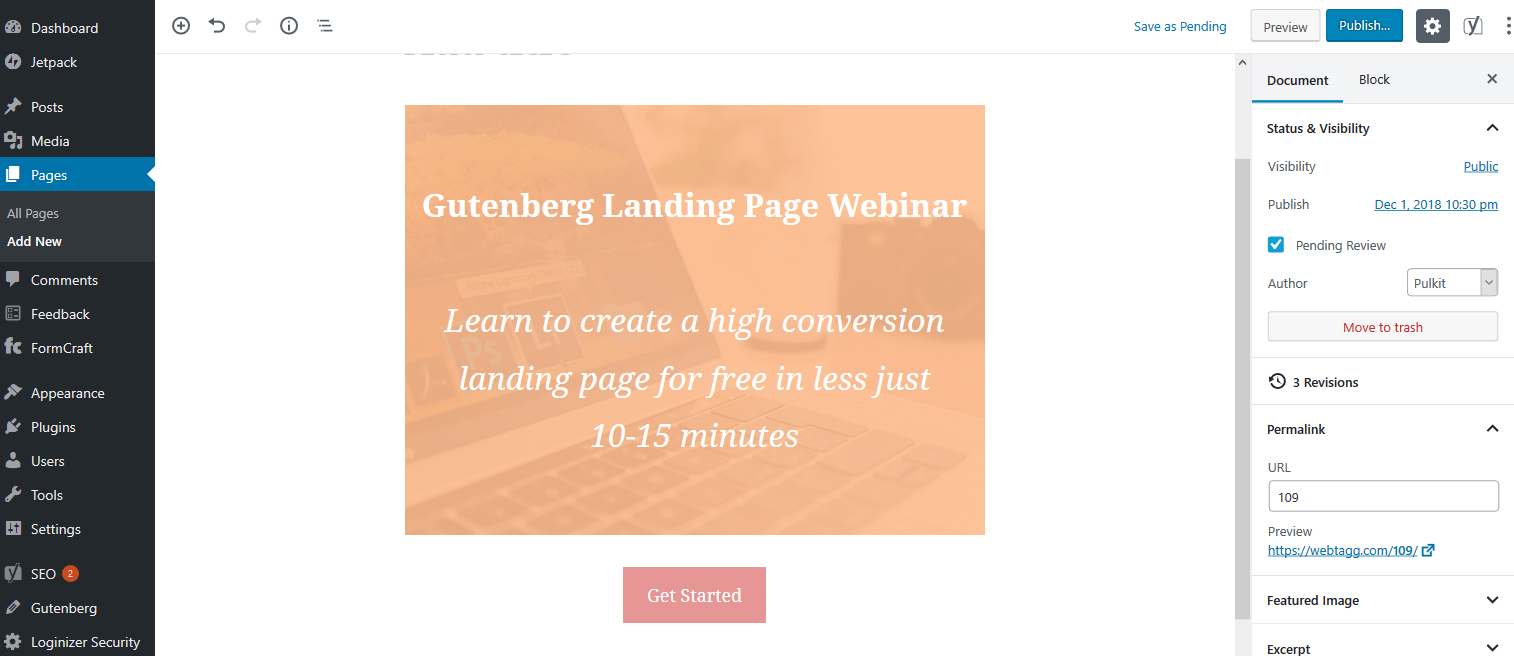
The Cover block is a good option for the top of your page because it lets you include a large image, as well as text on top of that image.
we will use it to include a heading and subheading on top of a background image with an orange overlay.
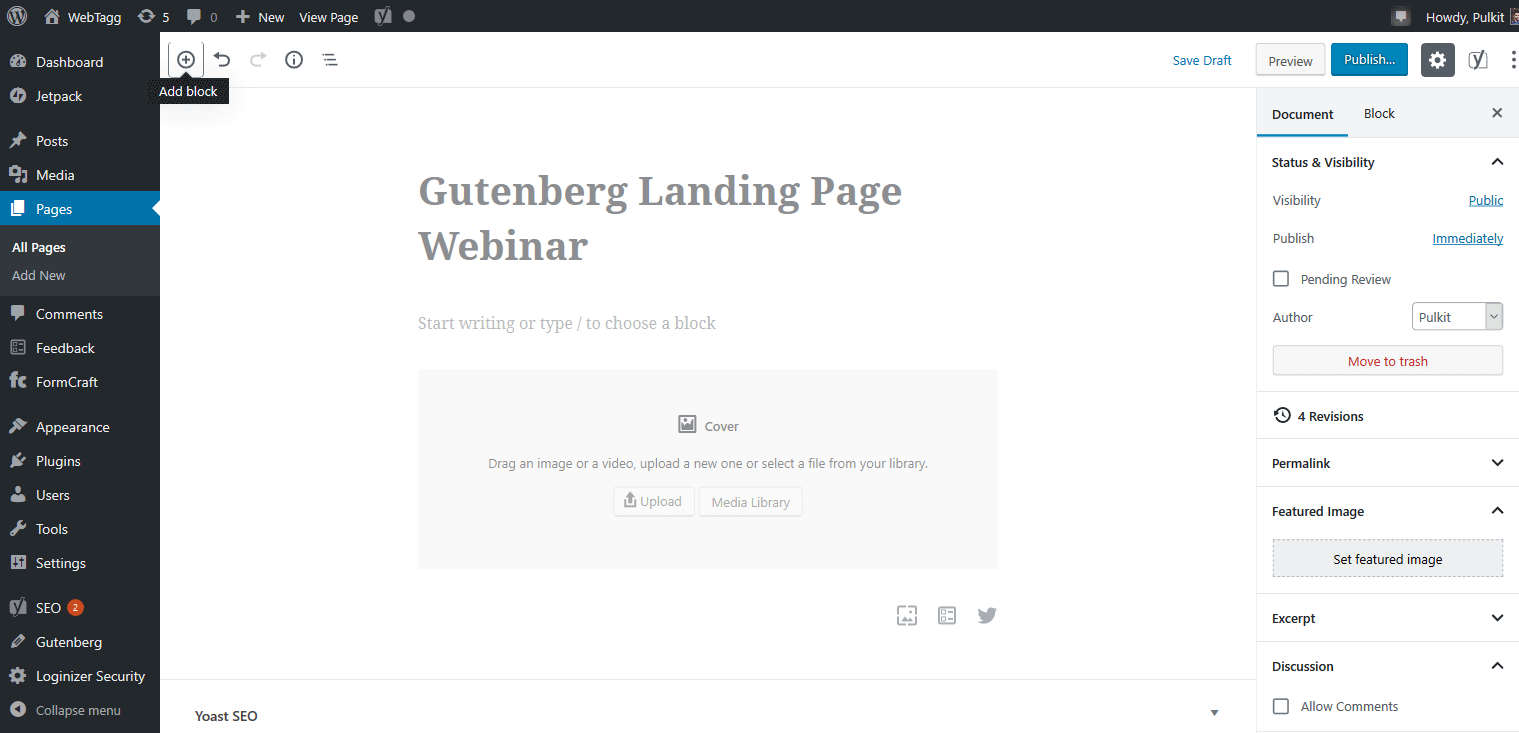
Once you’ve added the cover block, upload a beautiful image for your landing page. To make your text more visible, you can use the right sidebar to add the overlay color and background opacity.
To add the text, you just need to click and type.
Primary call to action (CTA)
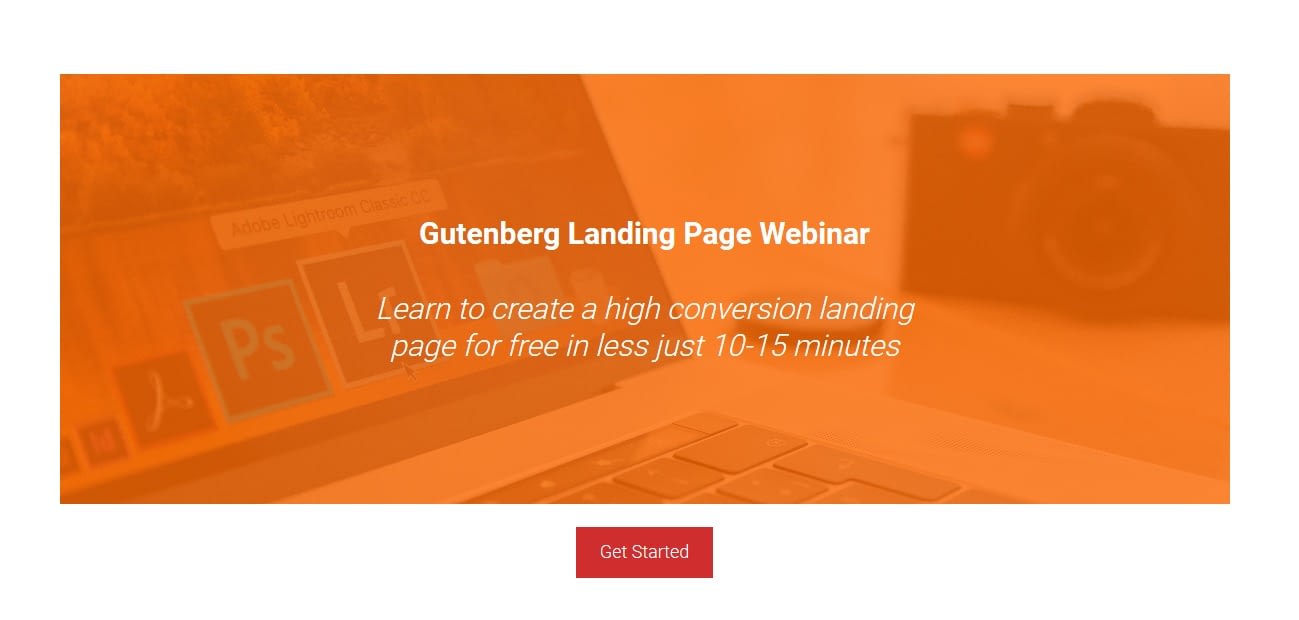
Once you’ve finished with the Cover block, you can add your primary CTA underneath by using the Button block. You can use the right sidebar to customize the colors of your button. You can see that I’ve added a Get Started button underneath the cover:
You can link this to a gravity forms page. With gravity forms, you can create a contact me page, registration for an event, and much more.
And here’s how everything so far comes together in the live preview:
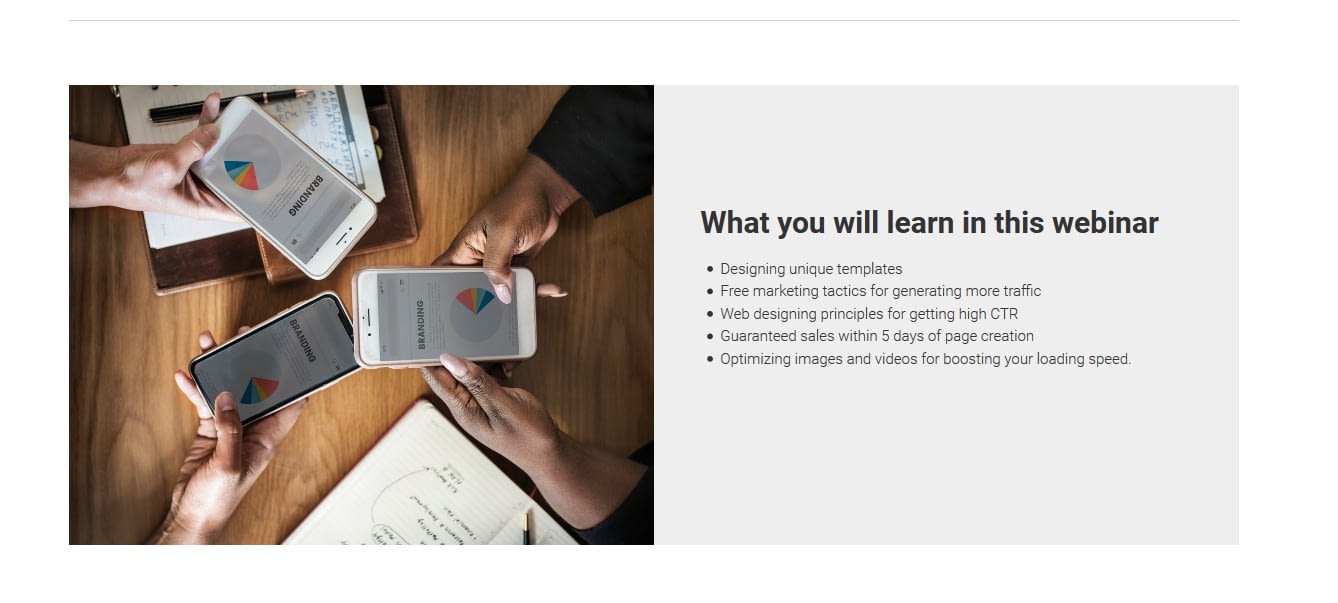
Product details/overview box
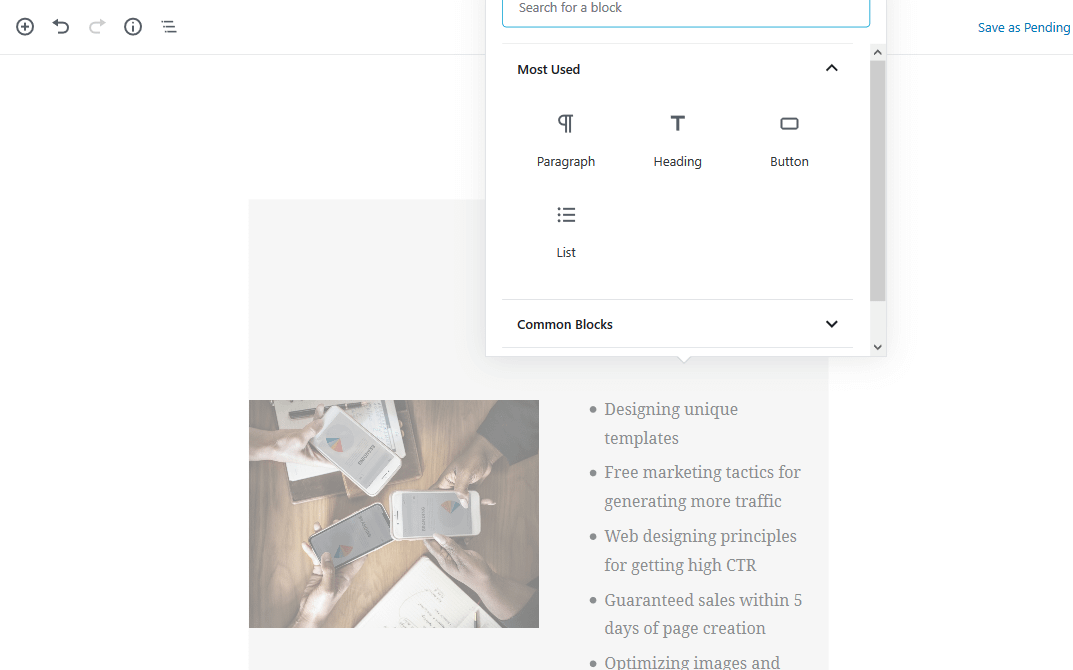
To add a good-looking product details box, you can use the Media & Text box. As the name suggests, this block creates a two-column layout with an image on one side and any type of text on the other. I decided to use a list for the text. You can see it below:
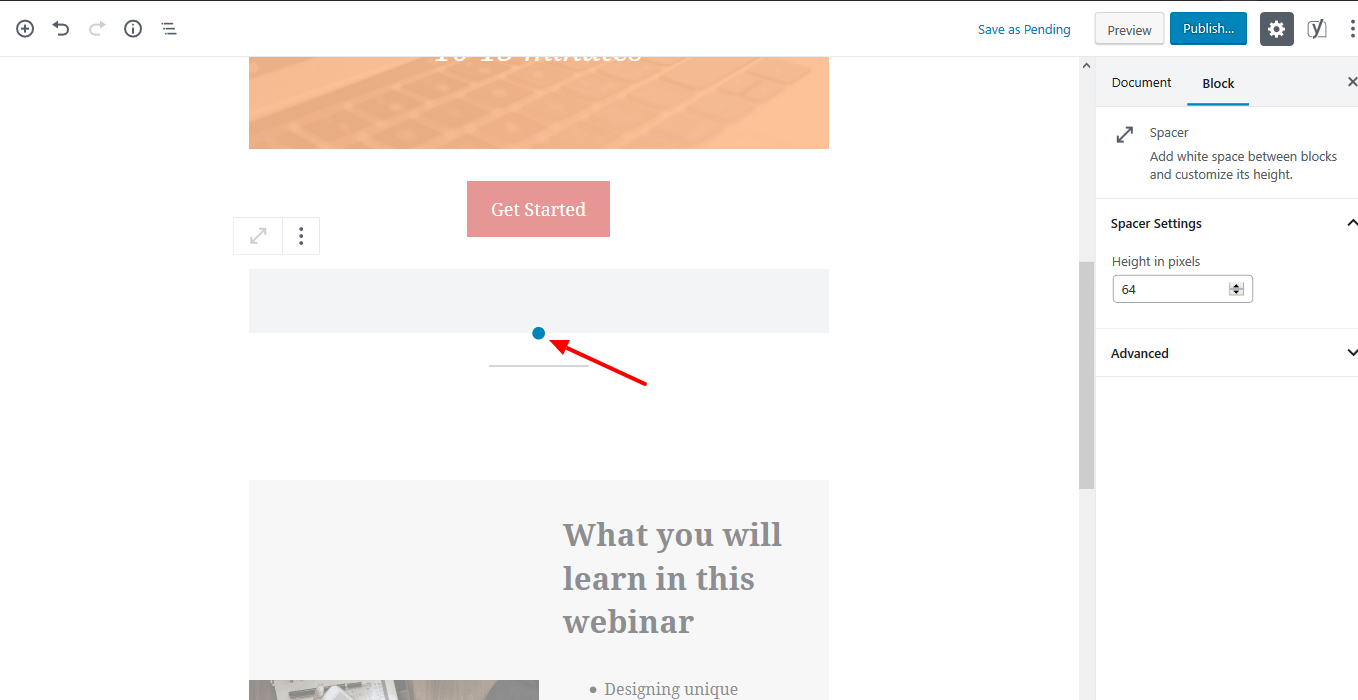
To improve the layout, you can add space between the previous section and this section by adding a Spacer block. You can adjust the distance between the two blocks via the blue dot on the spacer block.
Once you’ve added the content and the image in the Media & Text block. It will look like this:
Final call to action (CTA)
To add the final CTA at the end of your landing page, you can use another Button block. Or, if you’d prefer to use a form instead, the Gravity Forms plugin allows you to embed any type of form.
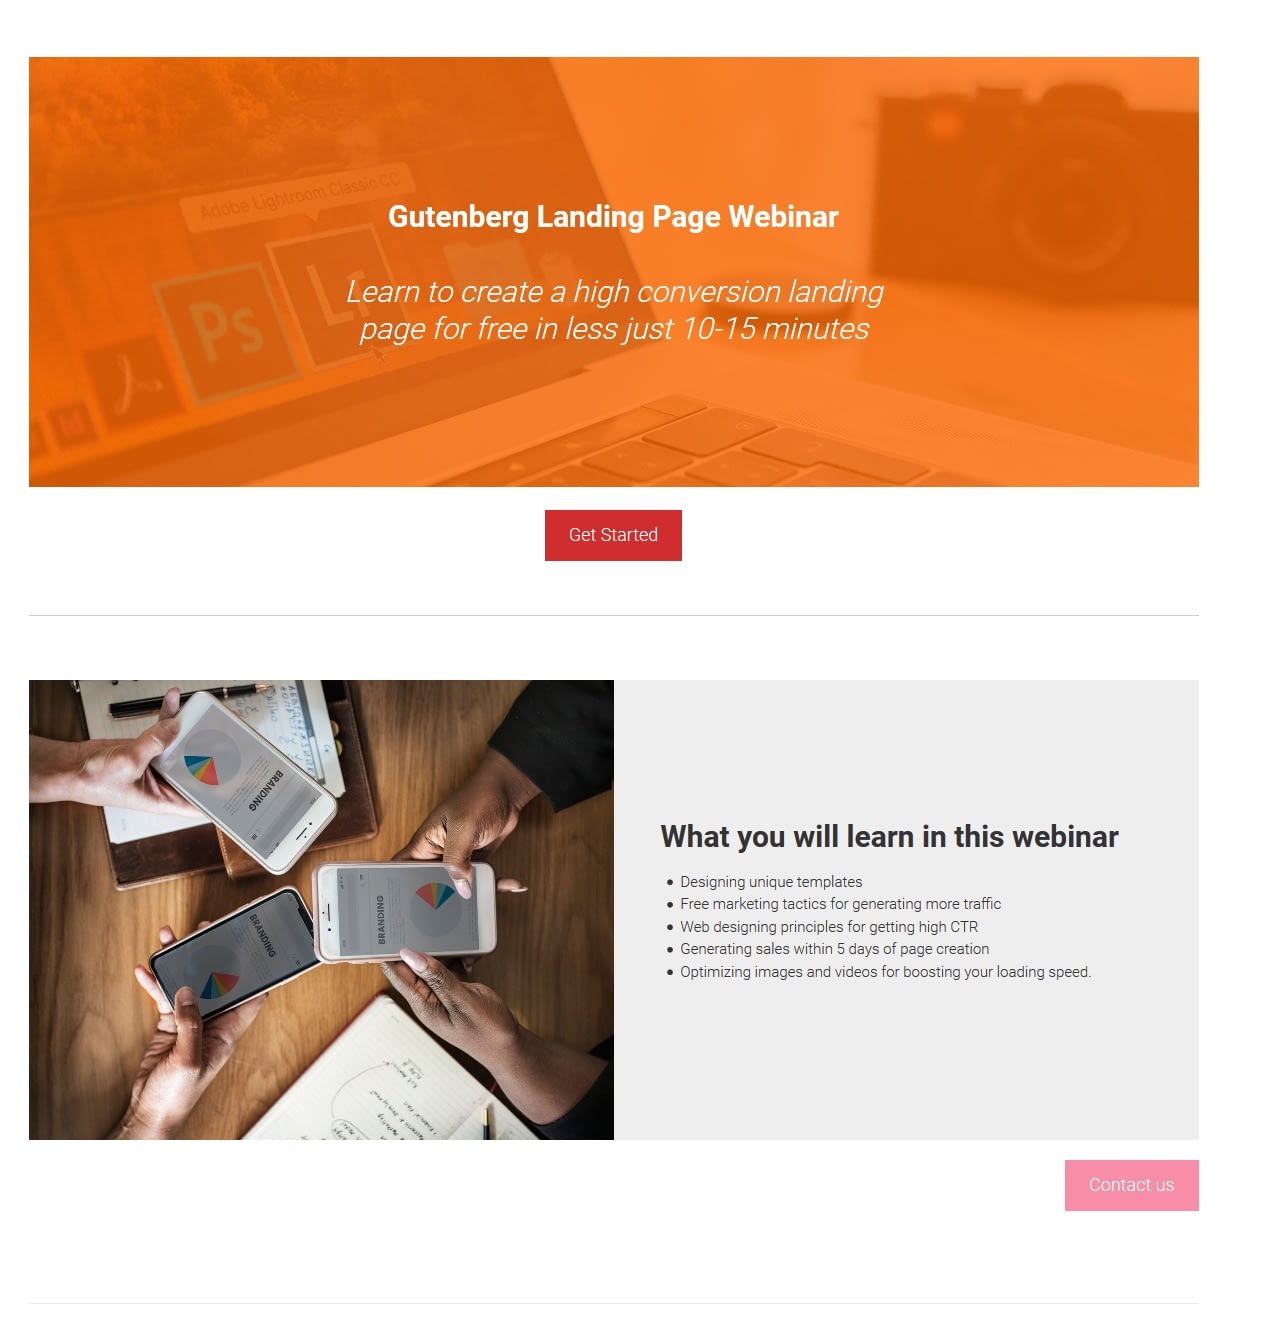
Putting it all together
After using all those blocks to create a landing page with the block editor, here’s another look at the final landing page design:
You must be logged in to post a comment.