How Can We Help?
Configuring Notifications in Gravity Forms
When a user submits a form, it can be quite helpful to receive a notification when a form has been successfully submitted. This ensures that you do not have to constantly check your form submissions to see if anything has been submitted. In this article, we will show you how to configure notifications for your forms.
Note: This article assumes that you have already created a form. If you need to learn how to do so, you may review our article on creating forms.
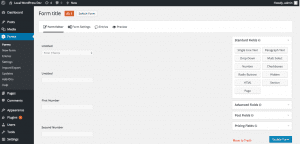 First, access the form that you want to create a notification for. This is done by clicking on Forms on the left side navigation menu, then clicking on your desired form.
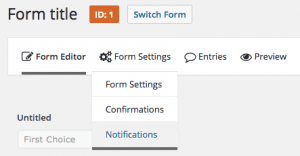 At the top menu, hover over Form Settings and click on Notifications.
 You should now see a list of all notifications that exist for that form. By default, there should already be a single notification that sends the submissions to the admin email address within your WordPress installation. The list may be sorted alphabetically by clicking on the “Name” header. To add a new notification, click the Add New button.
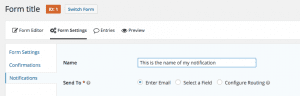 First, pick a name for your notification. This is simply something to easily identify the notification. Any unique name will be fine.
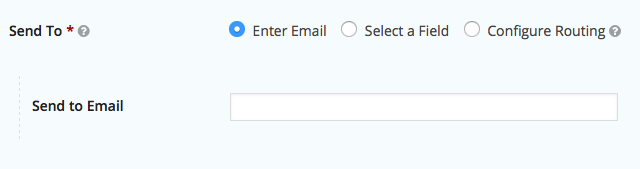
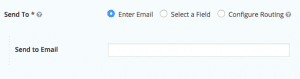 Next, you will see a setting labeled Send To. This allows you to determine how the message is sent. The options available are the following:
- Enter Email: This is simply a single email address that all notifications for this form will be sent to.
- Select a Field: This option will allow you to send the notifications based on the contents of an email address field in the form.
- Configure Routing: This option will allow you to send the notification to different locations based on the options that the user selects in the form.
For the purpose of this article, we are just going to take a look at the Enter Email option.
When you have the Enter Email option selected, the Send to Email field will be available. Within this field, enter the email address that you want your form notifications to be sent to.
 Next, you will need to configure a few different fields related to the email being sent. The first of these is the From Name field. When a notification email is sent, this is the name that will be displayed as the sender. Here, you can set this to something static, or dynamically generate that data. In this example, we want the name field from the form to be used as the From Name in the notification, click on the merge tag icon to the right of the field, and click on the field that you are using for the name.
 Next up is the From Email field. This is the email address that is displayed as the sender when receiving the notification. You may set this as a static email address, or select the field in which you want to be used as the send email address by clicking on the merge tag icon to the right of the field.
 There is also the Reply To field in which the reply address may be set. This can take a static email address, or use merge tags by clicking on the icon to the right of the field.
 The BCC field will allow you to set an email address in which the notification email will be copied to. This is useful if you have an individual that wants to receive all notification emails when sending to multiple people.
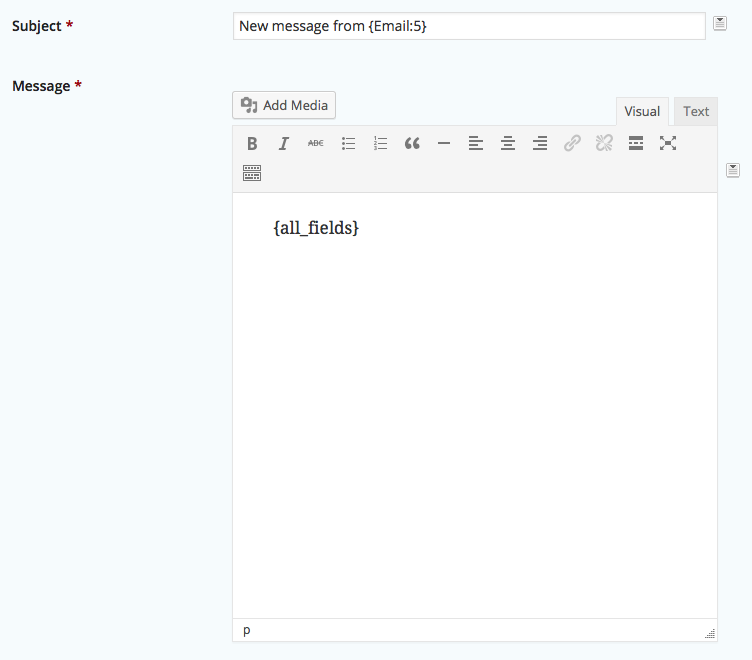
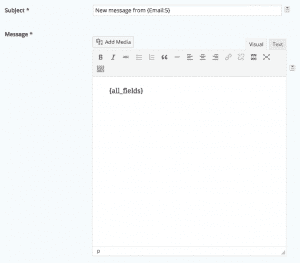 The Subject and Message fields are the most important part of the notification. This is the content that lets you know the content of the form that was filled out. These default to a subject stating the form that was filled out, as well as the message containing the form content. Just like many of the previous fields, these also support merge tags to dynamically generate content. For most people, the default content is fine, but you may change this to anything you wish.
 As of Gravity Forms 2.4, if there are File Upload fields on the form, the Attachments option displays. By selecting this option, the files that are uploaded on the form are included when the Notification is sent.
 If you want to disable the automatic formatting of the message, you may select the Disable Auto Formatting checkbox below the message field.


You must be logged in to post a comment.