
There are many situations where you need a standardized form where recipients can input information digitally instead of on paper. PDF forms are perfect for these scenarios.
This article won’t go into creating a form from scratch— it only focuses on adding fields. You can create the form template in a program you’re comfortable with (Microsoft Word, Excel, Publisher, etc…) and then export it as a PDF.
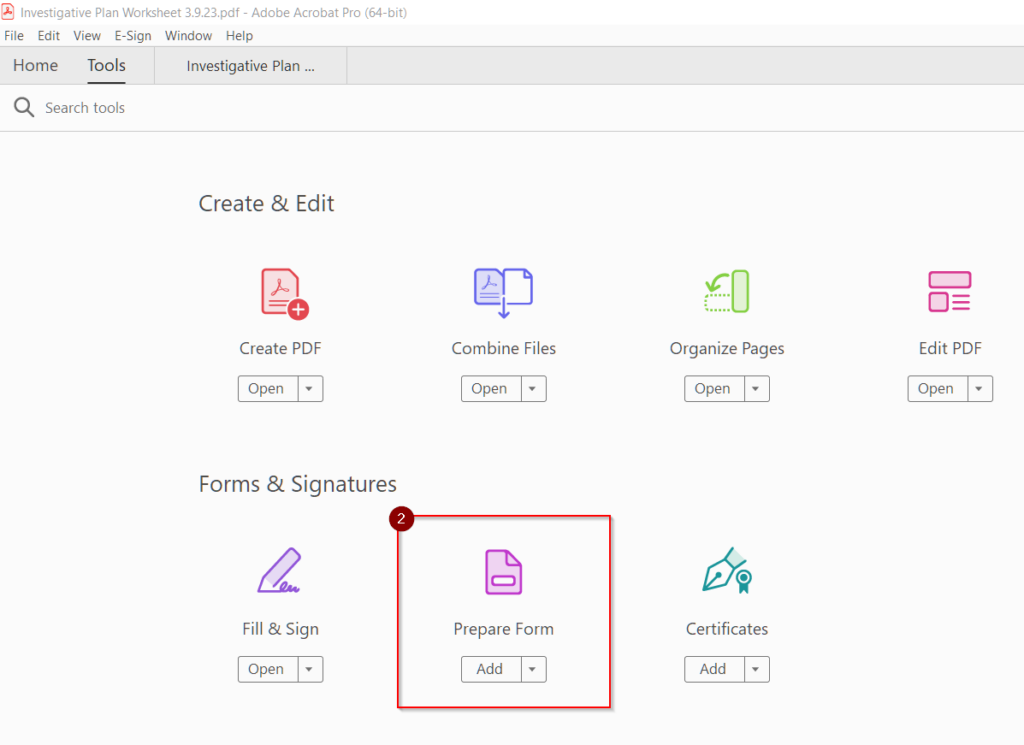
Open the PDF Document
- Open Adobe Acrobat and open a PDF.
- In the ‘Tools’ Tab, select ‘Prepare Form’
- Choose the PDF you want to turn into a form.
- Uncheck the box next to “Automatically detect Form fields,” then click ‘OK’
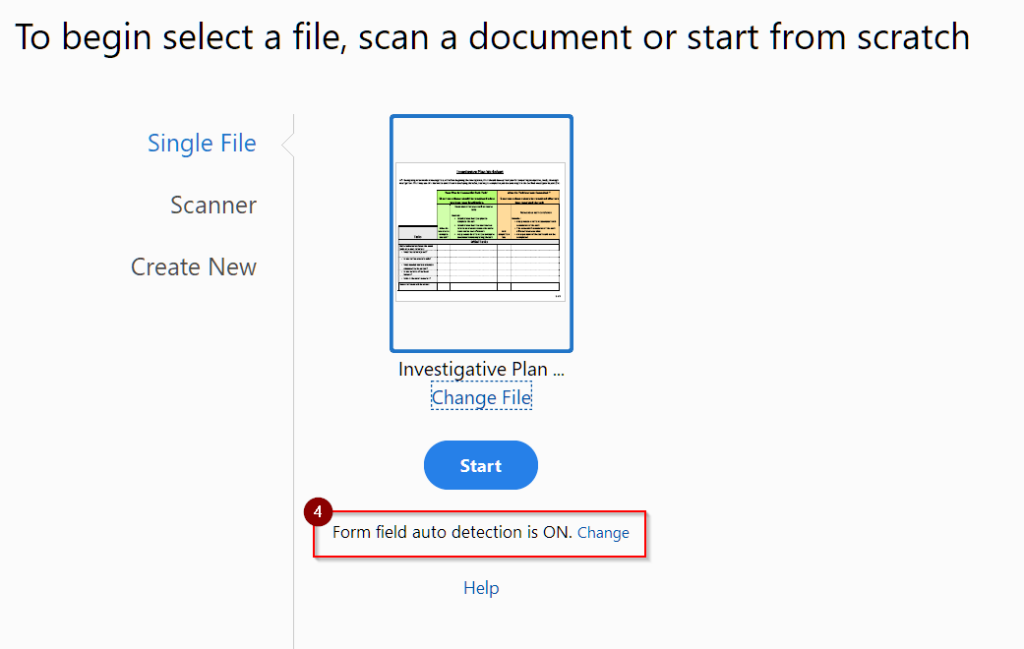
- Click ‘Start’
Creating form fields
- To create new text fields, select the Text Field tool from the Prepare Form toolbar at the top of the window.

- Click on any location in the document to place a form field.
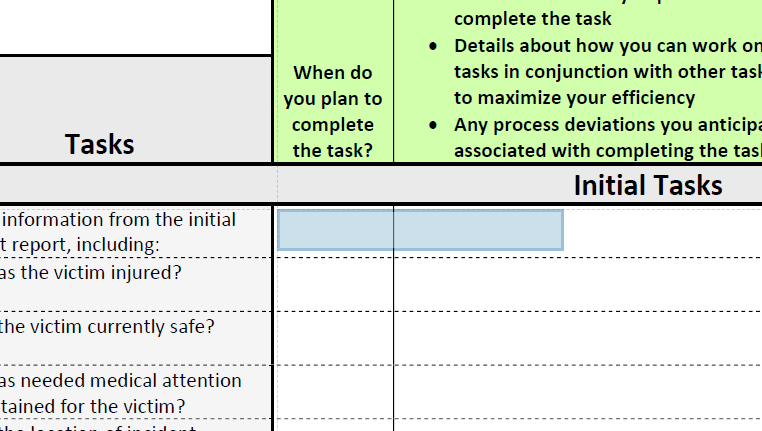
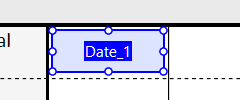
- Enter a name for your field.
- Optional: If you plan on having similar fields on other pages, use some naming scheme to distinguish this field from the fields on other pages. Naming conventions help you keep track of the purpose of each field.
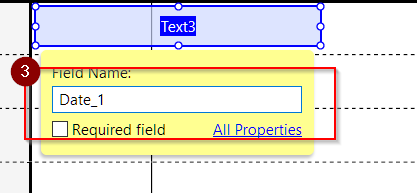
- Resize the field to your desired specification using the control points (solid white dots) at the corners and midpoints of the field’s bounding box.
With this method, you can create PDF forms with many different interactable elements, including text fields, checkboxes, ‘radio’ inputs and sliders. This is good enough to create a few fields, but if you need to create a large amount of precisely-placed fields, Acrobat also has tools to help.
Creating Grids of Unique Form Fields
“Unique” form fields?
- If you copy and paste a form field, Adobe Acrobat will interpret the original and the copied fields as “linked“
- “Linked” means that the data entered by a viewer of the form into one field will also show up in the other field.
- If we need a large amount of precisely placed unique form fields, we can use Acrobat’s ‘Create Multiple Copies…‘ feature.
‘Create Multiple Copies…’
For this process, the first form field should be placed in the topmost left cell of your grid.
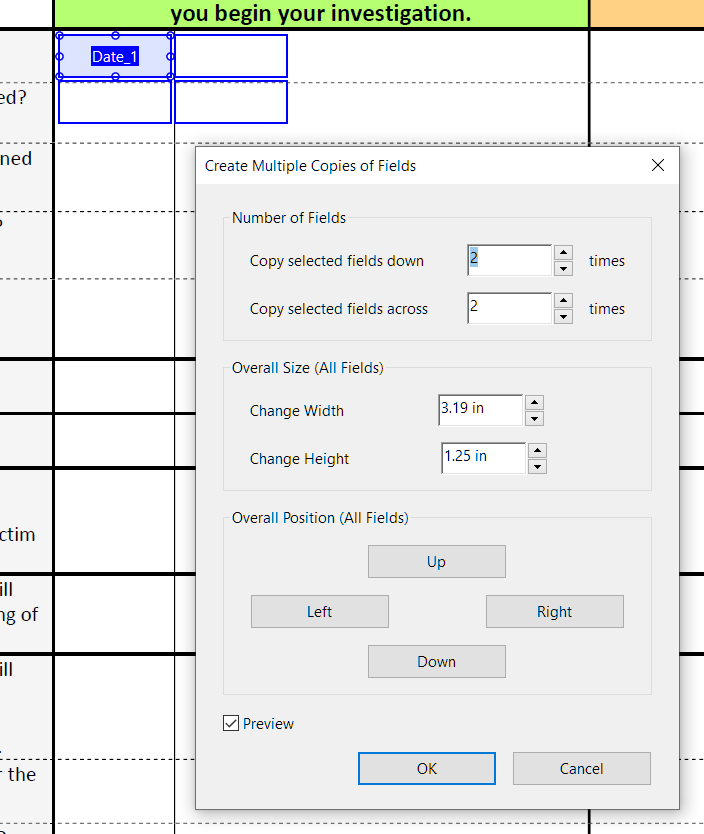
- Right click the field and select ‘Create Multiple Copies’

- The ‘Create Multiple Copies of Fields’ dialog box should open, and you should see blue rectangles similar to your original field in a 2×2 grid.
“Create Multiple Copies” Parameters Explained
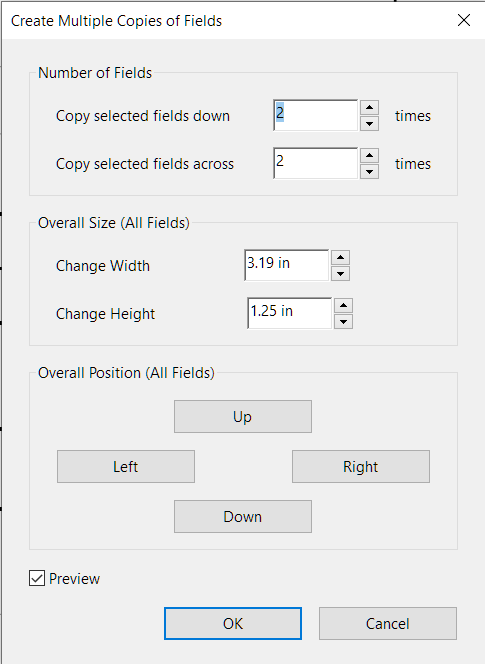
- Number of Fields:
- Copy selected fields down:
- The total number of ‘rows’ of copied fields, including the original field.
- Copy selected fields across:
- The total number of ‘columns’ of copied fields, including the original field.
- Copy selected fields down:
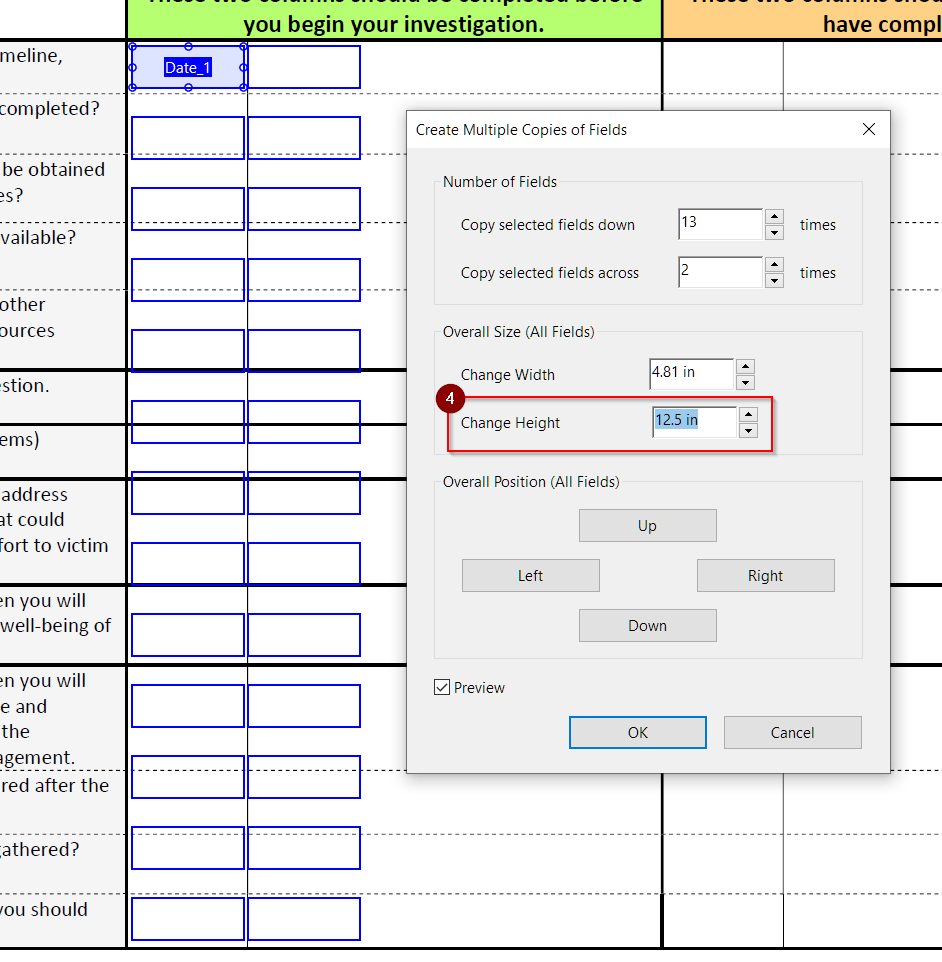
- Overall Size (All Fields):
- The height and width of the area over which the ‘grid’ of fields will be generated.
- Changing the Width and Height will change the distance between the field copies.
- Overall Position (All Fields):
- Click on the Up, Left, Right, and Down buttons shifts the area over which the ‘grid’ of fields.
- The distance between field copies is not affected.
Creating the grid
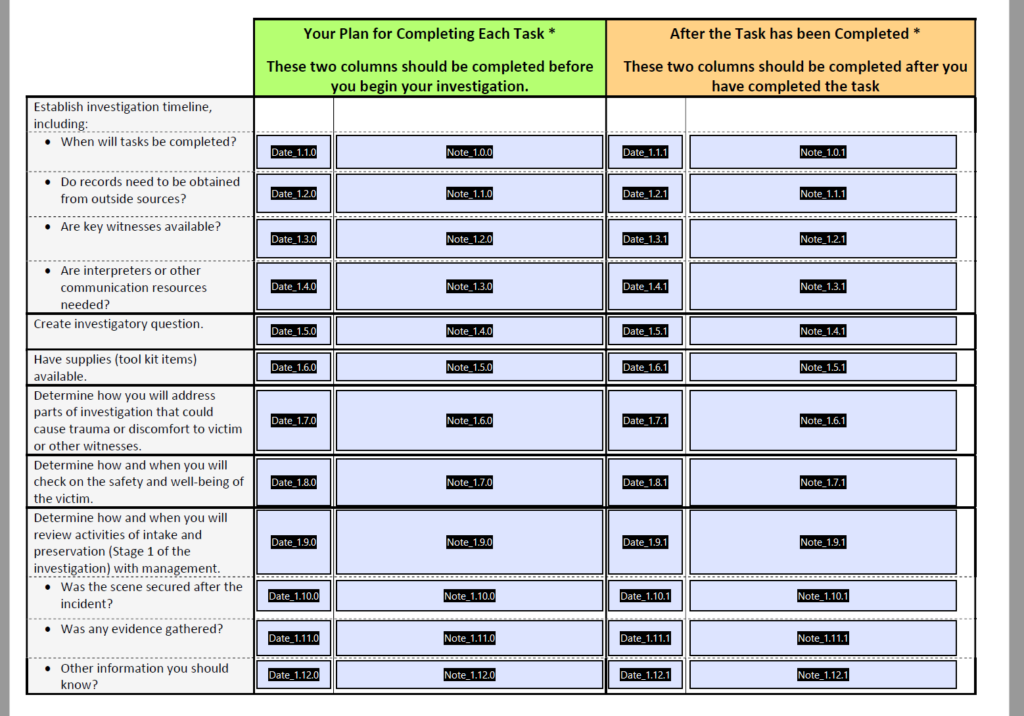
- On this specific page, we need 2 ‘columns’ and 13 ‘rows’ of fields. Click the ‘Up’ arrow on the number field next to ‘Copy selected fields down’ to create 13 rows.
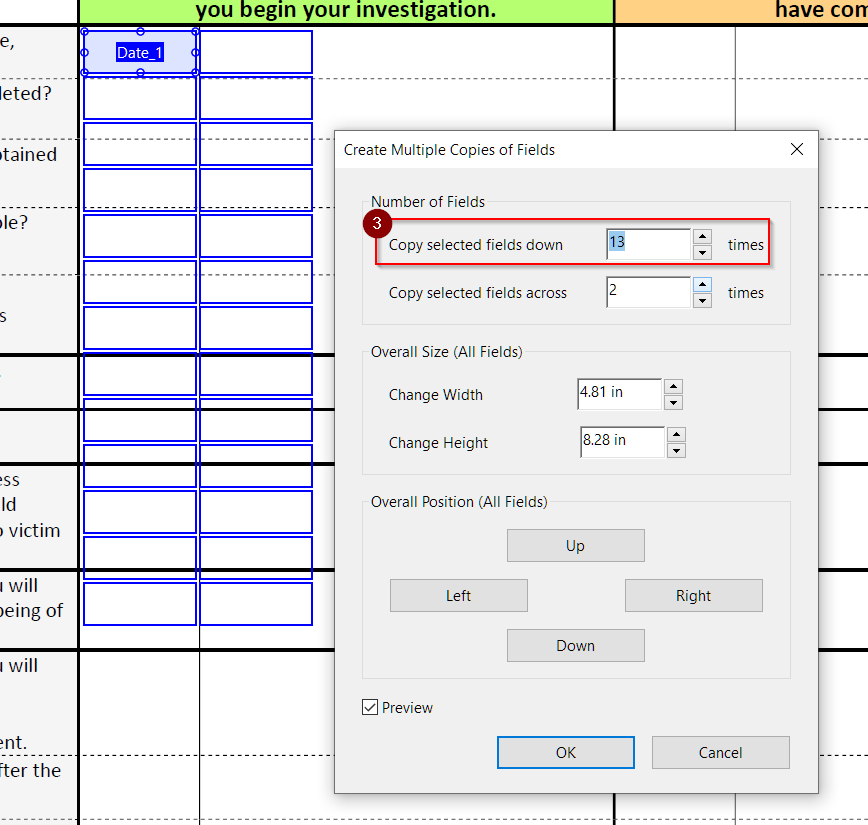
- Click the up arrow next to ‘Change Height’ to increase the distance between fields. The last field should match the last cell of our grid.
- TIP: Holding ‘Shift’ when clicking the up or down arrows on the number field increments the field by a greater number, allowing you to increase the distance faster.
- Following the same method as step 4, increase the width to align the columns with our document’s grid.
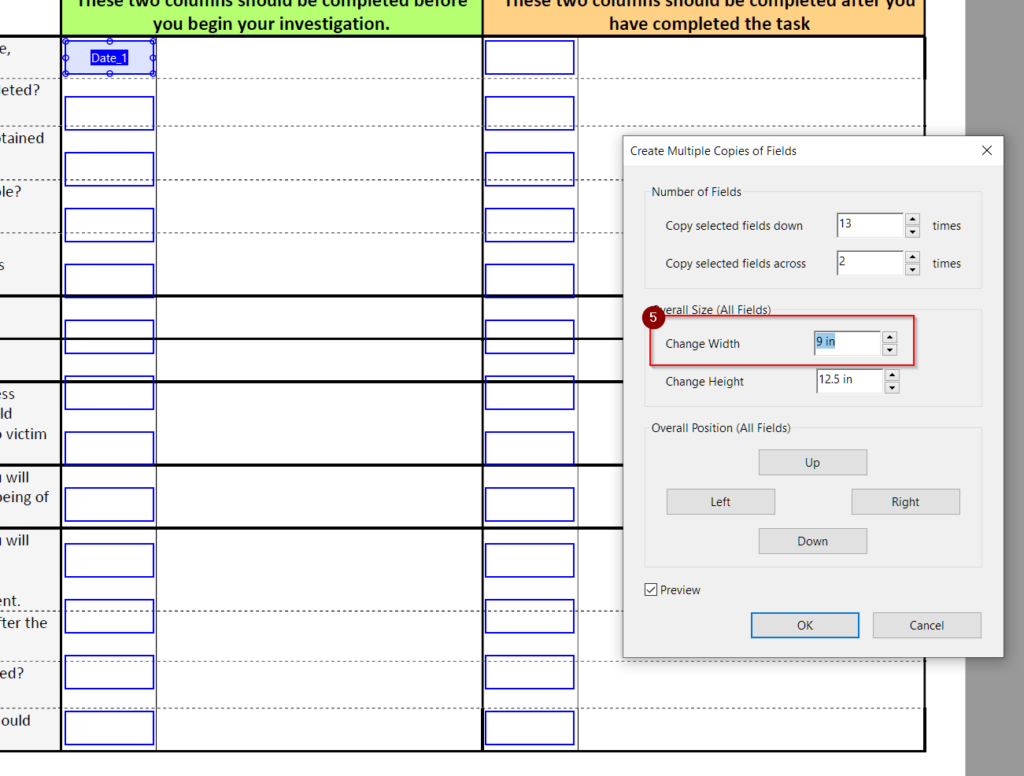
- Click ‘OK’. You should now have a grid of form fields with different names.
Fixing the Alignment
- The ‘Create Multiple Copies…’ dialogue did not align perfectly with our form’s grid. We need to fix this manually.
- Also, we still haven’t created fields for the other columns of our PDF. This is intentional. Once we align the first column, it will be easier to align all the other fields we create.
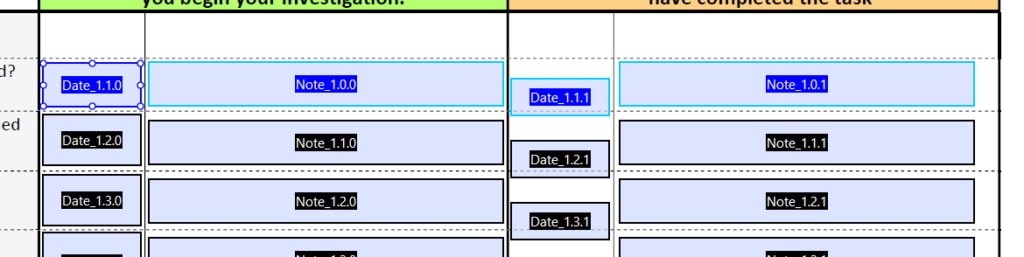
- Select the fields in the first column of our grid and begin moving and resizing them to fit the original PDF’s grid. Only do this for the first column.
- The fields do not have to be aligned perfectly yet.
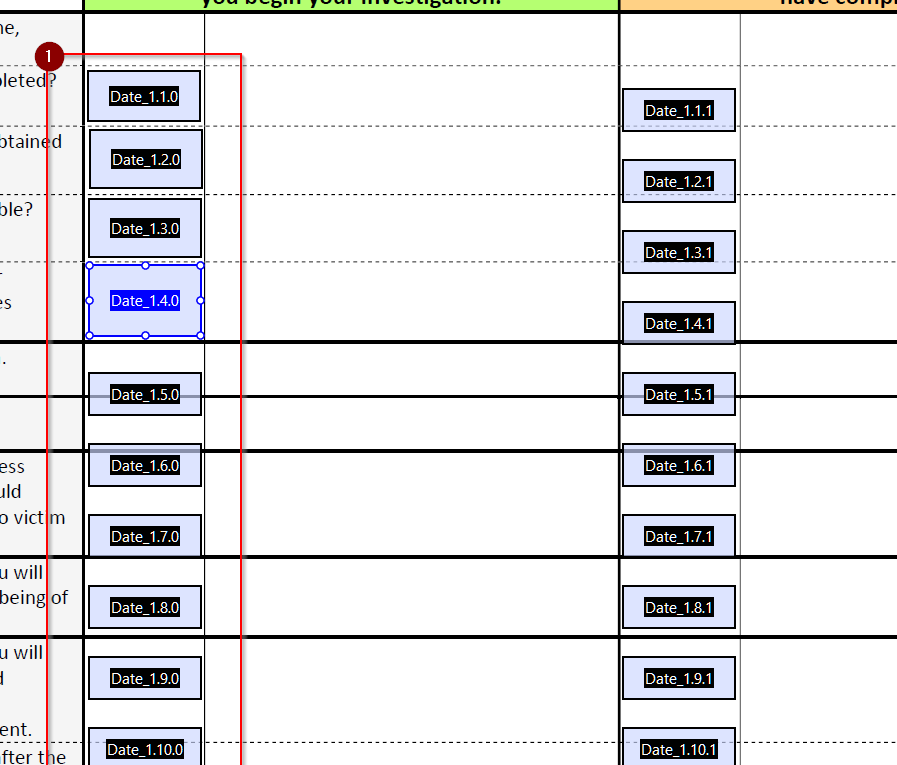
- Once all the fields are aligned to the cells of the original PDF, select the first field again. Then, use the mount pointer to draw a rectangle arount all the fields of just the first column to select them.
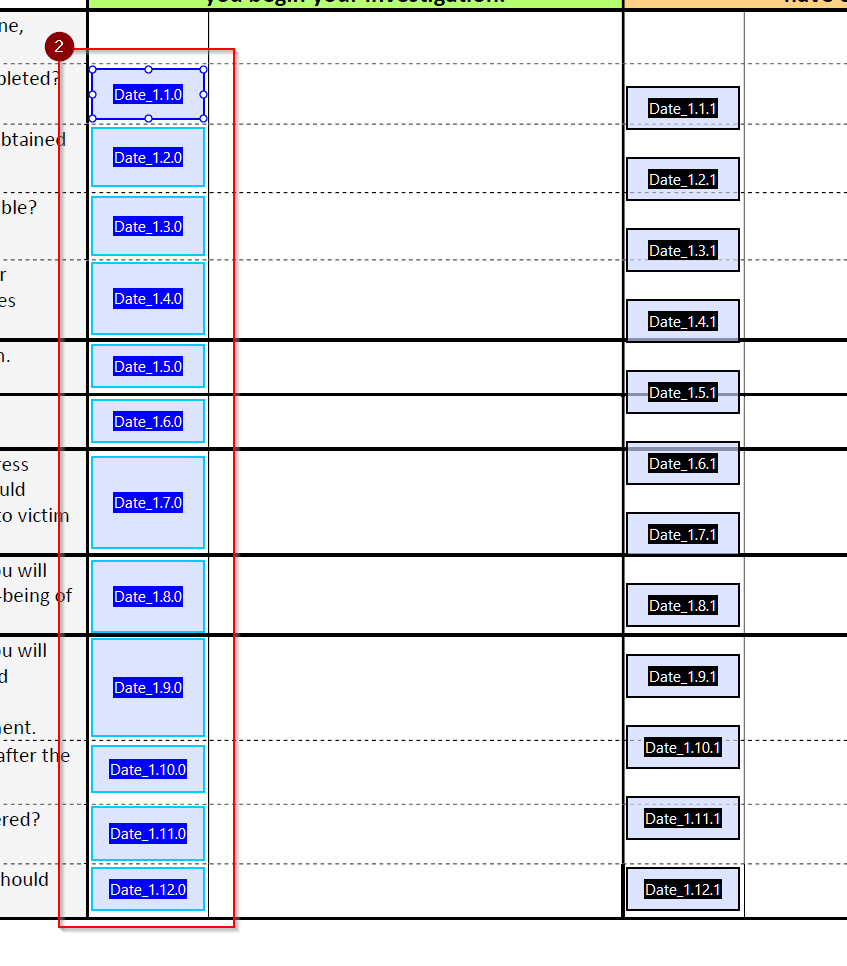
- In the top of the right-hand sidebar, under the selection of icons labeled ‘Align’, select the icon that shows items aligned vertically.
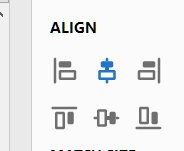
- This perfectly aligns all the fields in our column with the first field that we selected.
Aligning Rows
- Now that we have a column of perfectly aligned fields, we can repeat the ‘Create Multiple Copies’ process to fill in the rest of the form.
- Repeat the ‘Create Multiple Copies…’ process above with your other field.
- Using the pointer, draw a box around just the row of fields you want to align.
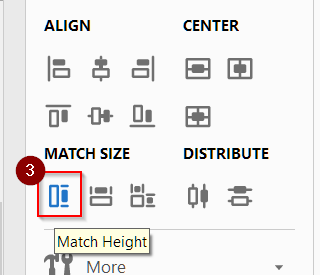
- Under ‘Match Size’, click ‘Match Height’
- Under Align, Select ‘Align Top’, ‘Align Center’, or ‘Align Bottom’. Any of them will have the same effect.
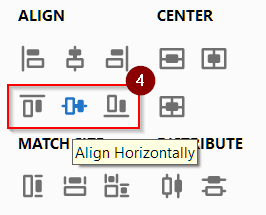
- The row is now perfectly aligned to the original selected field.
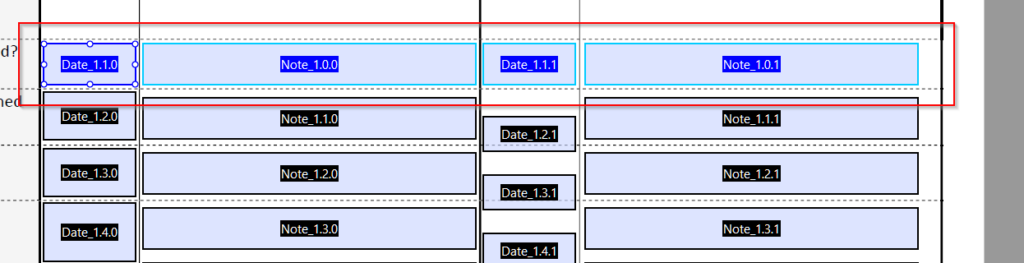
- Repeat this process for every row on the page. When you use the pointer to draw a rectangle to select the row, the leftmost field should automatically be ‘activated’ (highlighted in blue; see above).
- Repeat this process for every page of your PDF. Do not copy and paste fields, as these fields will be ‘linked’ and will duplicate whatever the recipient of the PDF enters into one fields across multiple fields.
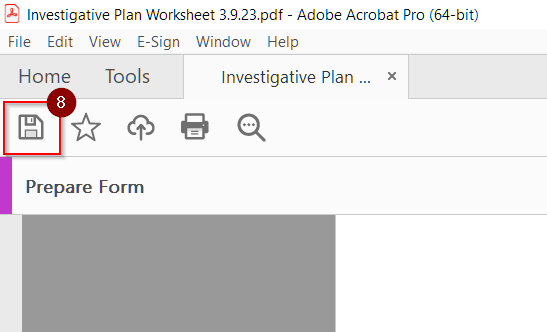
- When you are done, click on the floppy disk icon in the top left corner to save your PDF.
Adobe Acrobat is a powerful tool for PDF creation and management, and one of its strongest features is the creation of PDF forms. Forms help you impose control over your information and streamline the data collection process.