In this class, the Micro:bit will be used for multiple projects and ICAs. It is a device that can be programmed to take real-life inputs and outputs and use those to perform actions within its program. This page is dedicated to all things Micro:bit, including programming and using it with external devices.
Programming
To program a Micro:bit, we use the Micro:bit MakeCode editor. Here is a link to the editor: https://makecode.microbit.org. Make sure to click the login button in the top right corner and sign in with your Temple email to save your work to the cloud.
Once we sign in, click on “New Project,” and you will see a screen similar to the following:
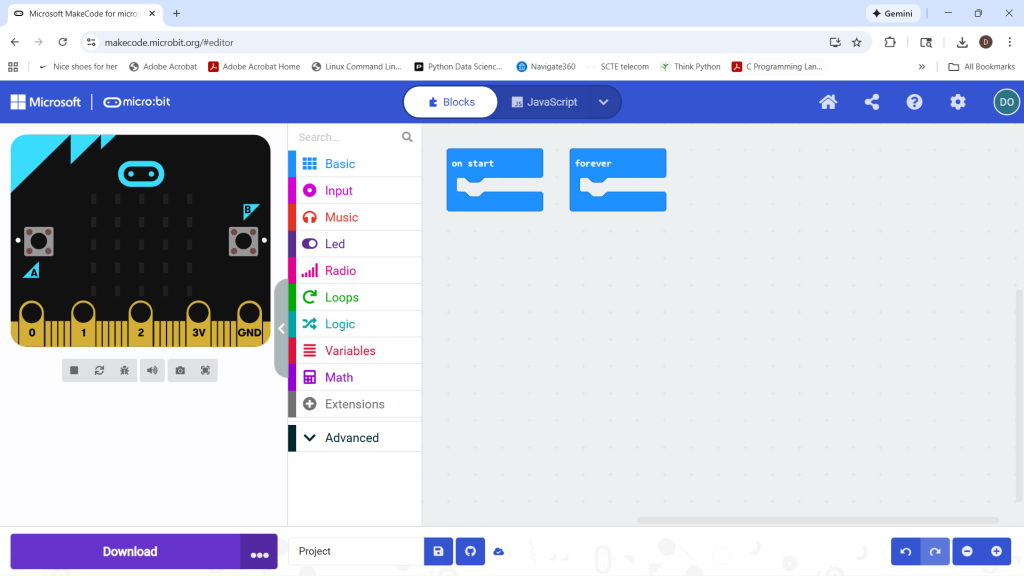
Whether we put code in “on start” or “forever” depends on what we would like the code to do. If we want our code to run one time, then never again, it is put inside “on start”. If we want the code to run forever, we put the code inside “forever”. There are many different blocks we can use to program the Micro:bit. We will learn more about what specific blocks do in class. Feel free to learn more about the Micro:bit on their webpage, https://microbit.org/.
Hardware Interactions
While Micro: Bits are great tools for learning programming, their primary ability is to interact with hardware.
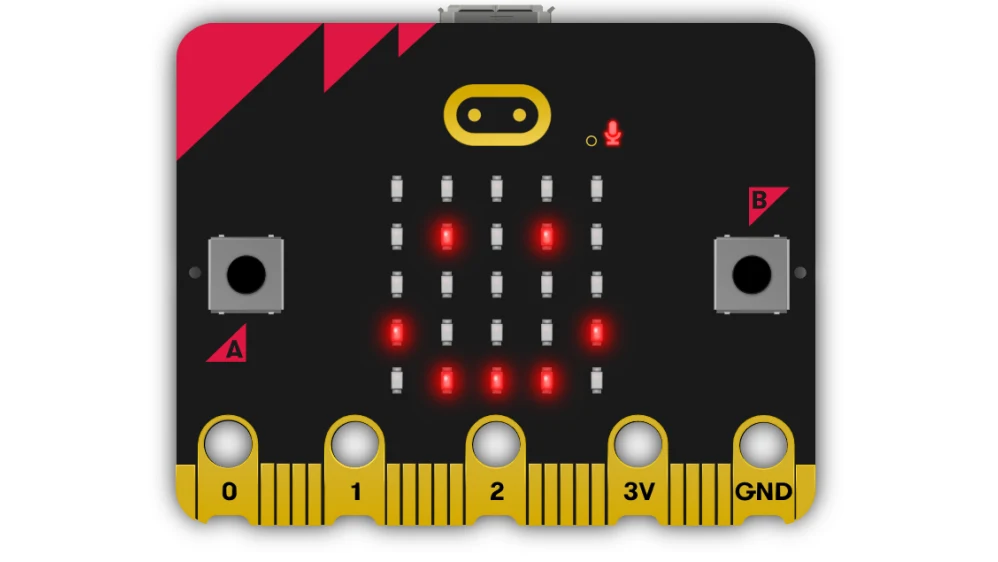
Every Micro:bit has 5 main pins. 3V and GND provide power to external devices, while 0,1, and 2 can be used as input and output control.
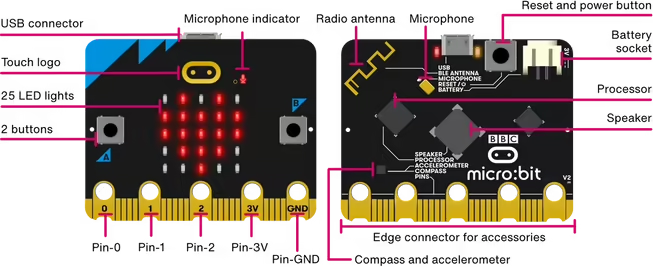
The Micro:bit also has many different sensors and devices already installed. The LED screen can be used to display icons, numbers, and text. The two pushbuttons, touchsensor, and microphone can be used to read inputs from a user. The speaker can also be used for audio outputs from our Micro:bit. Look at the image to the leftto see where all of these devices are located on your Micro:bit
If you would like to see how many other external devices can be connected, alongside more advanced programming functions like using radio to send messages, look at the following PowerPoint.